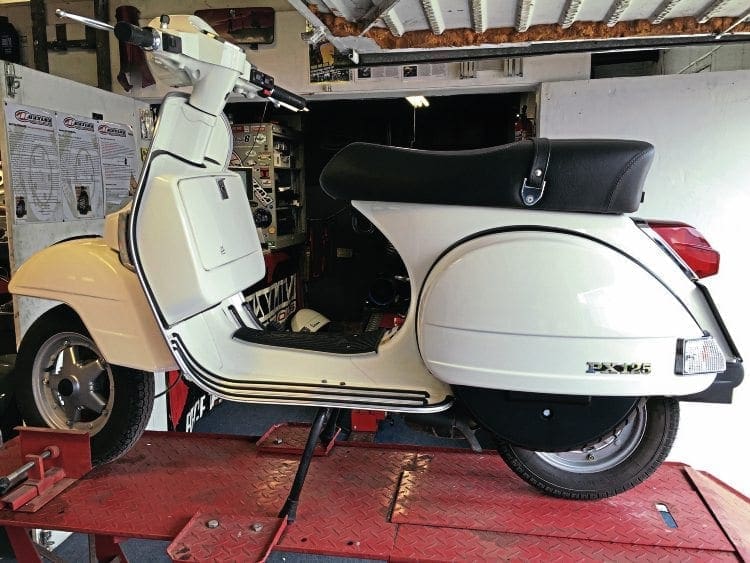
With a stack of tuning and upgrade products for Vespa machines to hand, we intend to fit and analyse them all so readers can make an informed decision on upgrades and parts. Our PX125 is playing dyno donkey to generate repeatable and comparable results…
To briefly recap
We started with a bog-standard PX125, a 2015 Euro 3 compliant model with 6.3hp, with the intention of selecting a range of commonly used ‘bolt on bits’ and seeing what (if any) power gain each one gives. The SIP Road 2 exhaust was first up and gave a tidy 1.5hp power gain across the board. We later combined this with a ‘home tune’ to the 125 cylinder and achieved further gains of another 2hp. We then fitted the BGM 177 kit and progressed once again, now hitting 11hp. Then last month we hit a stumbling block: we fitted the 60mm ‘long stroke’ crank, but strangely saw NO benefit whatsoever… now why would that be the case?
Holding back the power
Having added the ‘plug and play’ BGM 60mm crank, and knowing the value of increased inlet duration, cubic capacity and port timings, I had fully expected a power increase from this exercise, yet didn’t get one. We deduced that something was holding back the power but we needed to find out what.
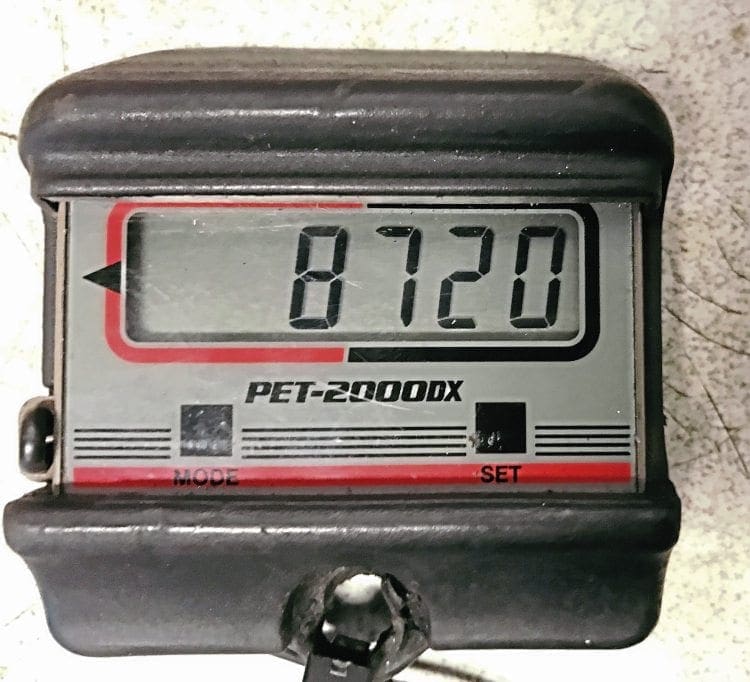
We knew the ignition was the ghastly Euro 3 compliant unit, which is limited to 7000rpm. We also knew we needed to compare the BGM exhaust to the SIP unit, as well as fitting a 26mm ‘fast flow’ carb instead of the standard 20mm version. So which one of these modifications would release more power? Well, they all did in the end… but it was the Zeus which freed up the ignition, in order that we could get to the power contained in the other parts. That standard ignition is a pig of a thing.
Zeus delivers the power
I couldn’t wait to fit the Zeus CDI unit. These units are made and sold by Readspeed and this model is specifically made to circumvent the nasty restrictions put in place by Piaggio to make the PX125 Euro 3 compliant.
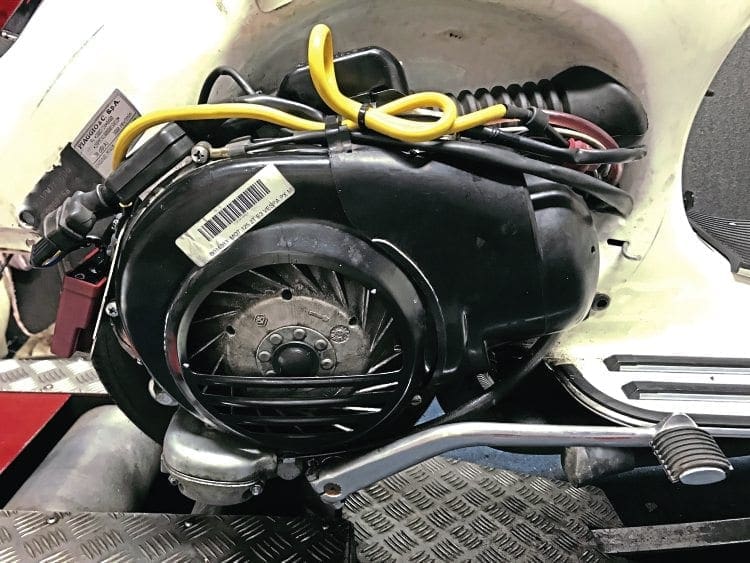
The lovely ignition of previous years was replaced from 2011 onward, by a nasty Chinese-made item. The flywheel, stator and CDI are all specific to this model and you cannot simply exchange one item or the other with previous models. So the simplest and the cheapest thing to do is to fit the Readspeed ‘Zeus’ unit, and that’s exactly what we did.
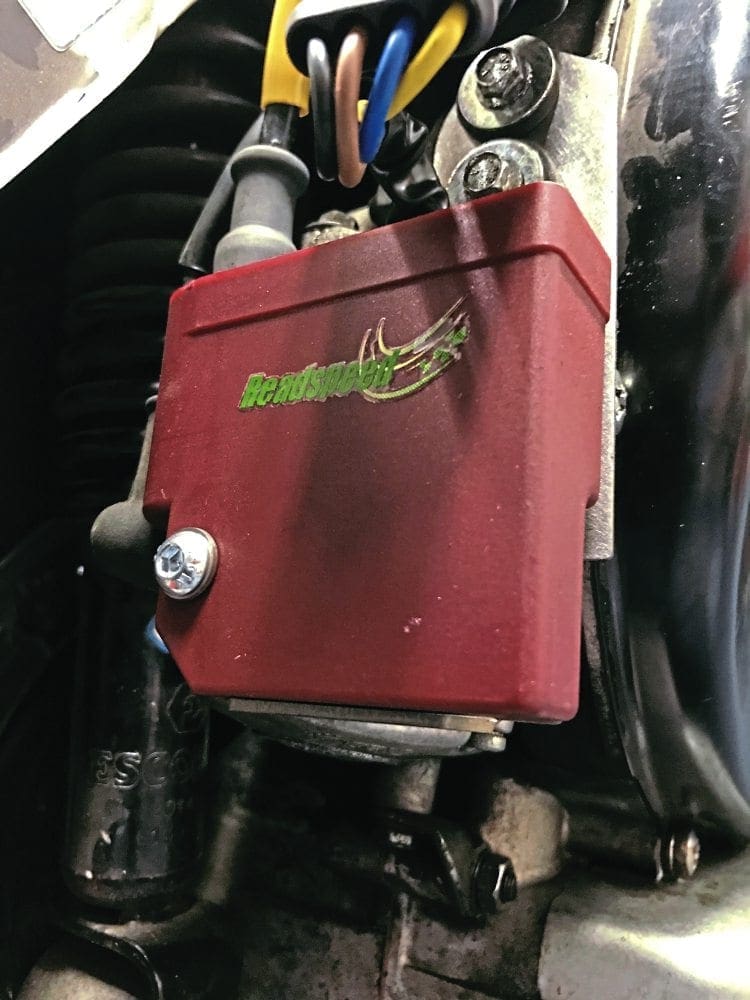
It proved simple to fit and we were straight onto the dyno within 15 minutes. I’m pleased to report that the results were impressive to say the least. The engine now revved on to over 8700rpm, instead of being stunted at just 7000rpm, and the ignition system/engine sounded audibly more free to rev and much more ‘zingy’ off the throttle. The dyno graph showed a clear 1.5hp gain and substantial over-rev.
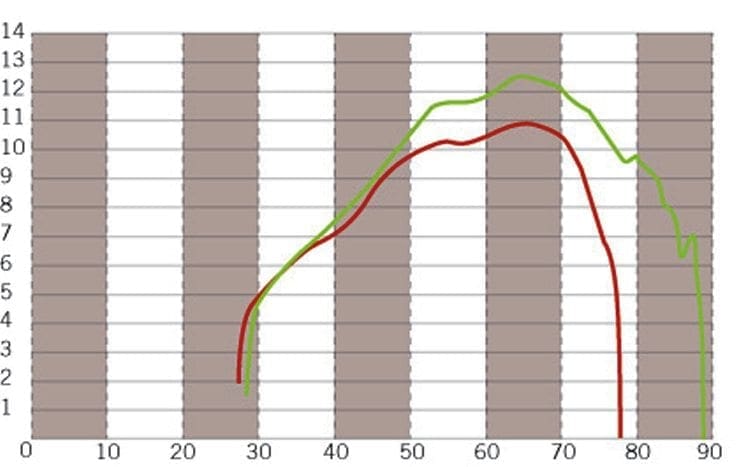
My gut feeling is that when just fitting an aftermarket pipe and tweaking the standard cylinder, you can get away with the Chinese ignition without being ‘held back’ due to the lower power and revs. But once you increase CC and port timings, with kits and cranks etc. you really need to fit the Readspeed Zeus unit on post-2011 models in order to release the full power at peak revs and to allow the components to rev-on.
BGM exhaust vs SIP exhaust
Well, we had the BGM 177 kit and 60mm crank fitted, so now we wanted to know if the BGM exhaust suited the kit any better than the SIP item… which I must say is a great all round touring exhaust. It’s good value, well made and now comes with a SIP three-year guarantee… so would the BGM pipe be able to topple it off my favourite list? Well one thing I did note when fitting the BGM pipe, was that the whole unit lined up perfectly on the PX125 and slotted straight on. By comparison, the SIP pipe had been a very ‘tight’ fit, and when the stub was on the cylinder the bracket didn’t quite line up, and vice-versa. So once it was fitted, the SIP unit felt a bit ‘under tension’.
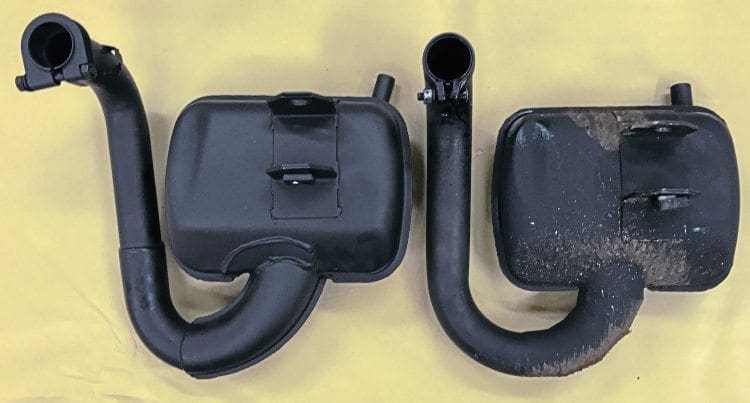
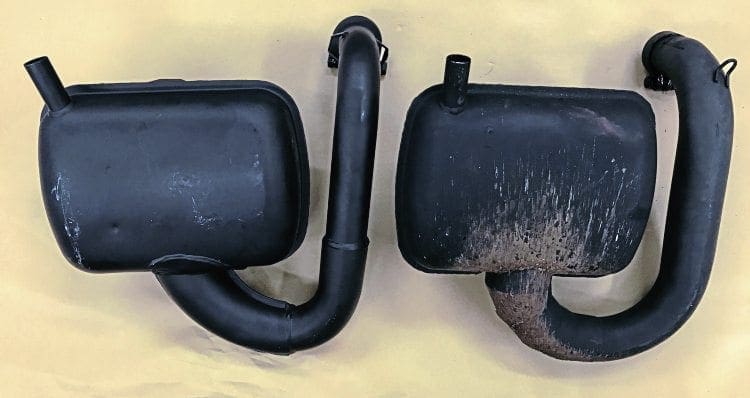
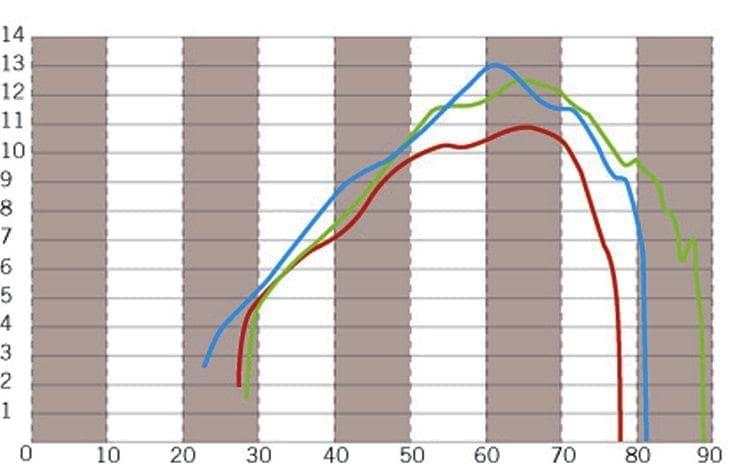
The BGM pipe also seated further up the stub, and gave a closer fit to the cylinder, which I was pleased about so it was a win for the BGM pipe in terms of fitting. Next… to the dyno! In simple terms, the BGM gave a 0.5hp gain at peak rpm, and had a tiny amount more in the lower rev area, but seemed to lose out after peak rpm to the SIP power spread and over-rev. So the case proved to be neck-and-neck in my opinion… depending if you wanted that tiny bit of extra power lower down (BGM) or later on (SIP) -neither pipe could be judged as significantly different in power terms though, both proved to be excellent contenders and great performers, while still retaining standard looks.
Bigger carb… 26mm
At this point, I should highlight something very important — the new power and revs of the components we had fitted thus far had started to outpace the carb fuel flow by quite a substantial amount! Even if we were not looking for any further power gains, it was evident that the standard 20mm carb would need either to be exchanged or modified. In simple terms, the engine was now producing more power and thus commanding more fuel than the standard carb unit could supply.
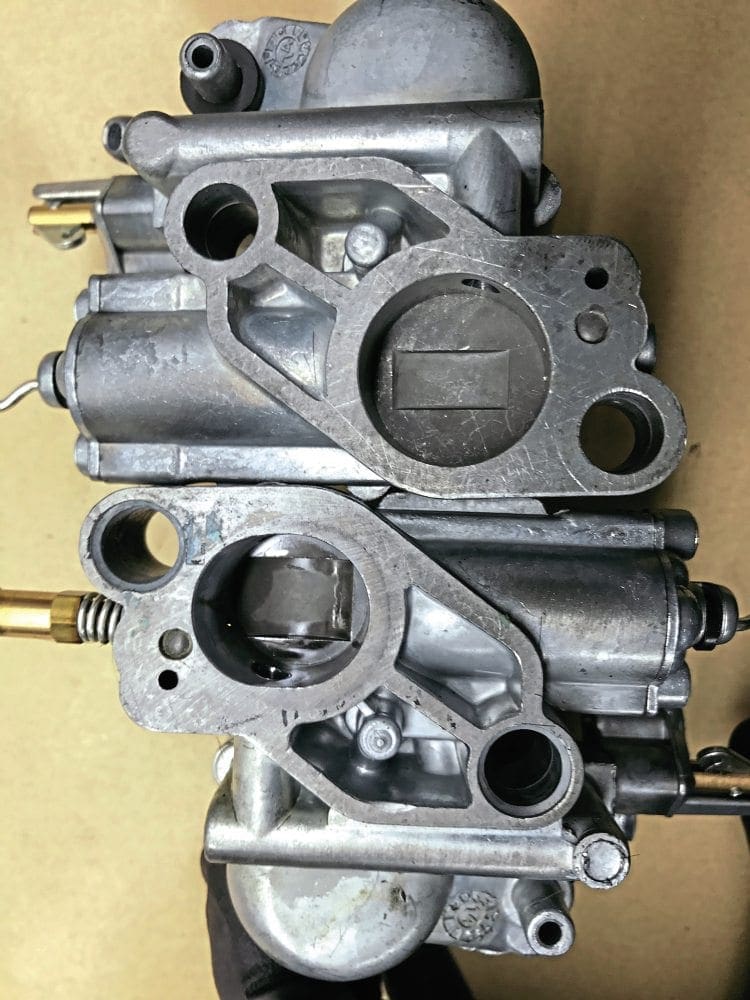
So not long after reaching peak rpm… the carb simply ran dry and the engine balked out in a huge way! It felt like the fuel tap was off, or the tank had run empty. But if you then clutched in and revved the scooter a few times, the fuel bowl in the carb would re-fill and off you would go again. This problem however is more than just annoying, it’s dangerous (nobody wants to run out of power while overtaking, for example) and is also likely to seize the engine eventually. So what steps can we take to resolve this issue?
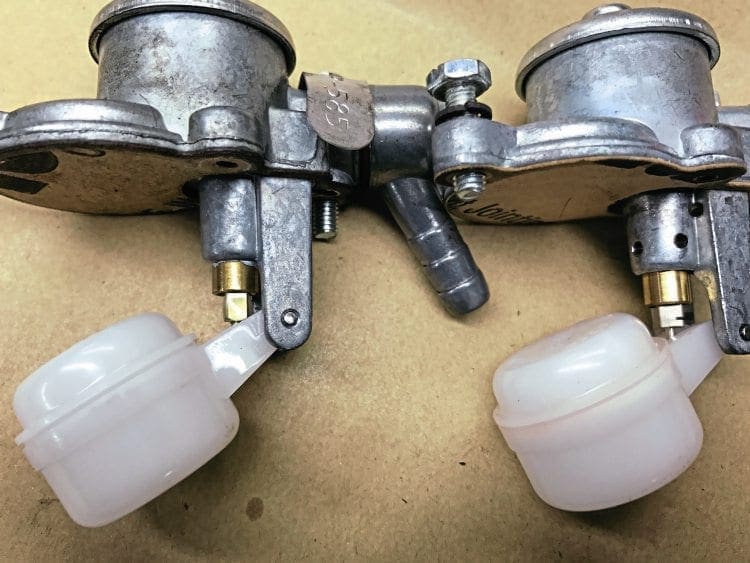
There are modifications which involve bigger tap jets, drilling holes, modified carb tops etc. but the BGM carb is bigger in size (26mm vs standard 20mm) and handily comes with the appropriate fast flow modifications already made. It’s a simple case of bolt off — bolt on!
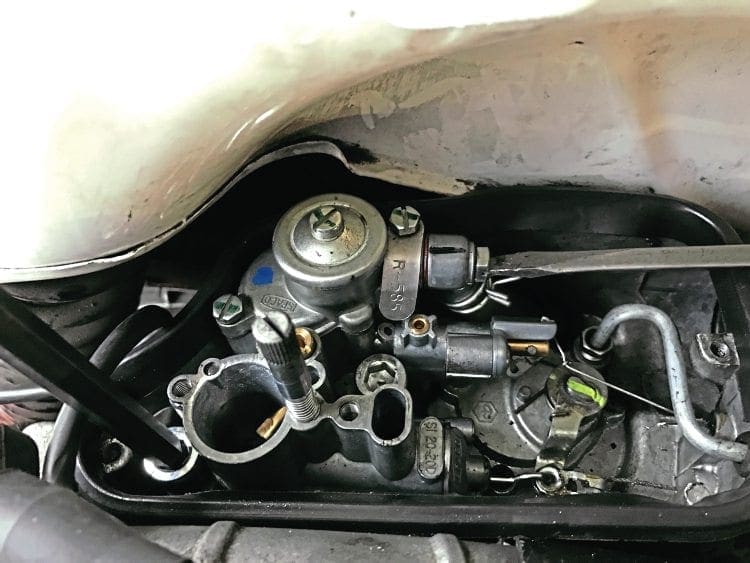
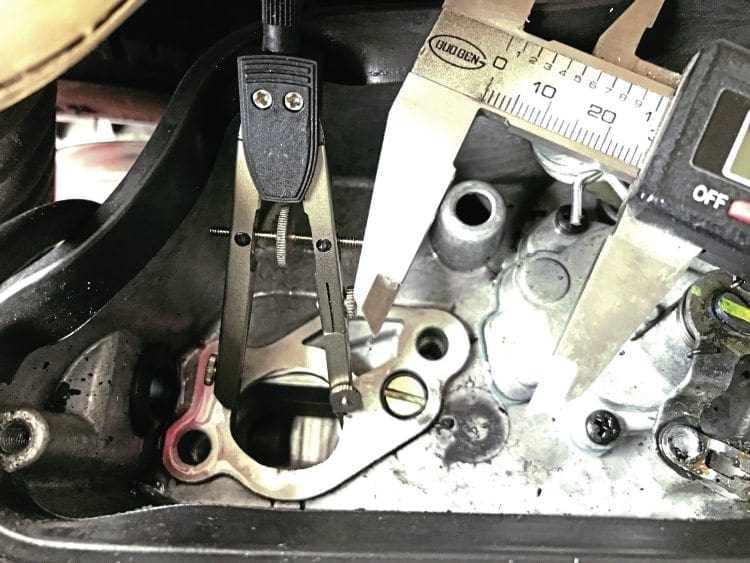
We also noted that the hole size of the standard airbox and port size of standard casing inlet were dimensionally better suited to the 26mm carb rather than the 20mm carb, which could only be a good thing in terms of flow. So once again… to the dyno!
The results? Well, now we had a straightforward 1hp gain, and a fuel flow rate that would be the envy of Niagara Falls. As I mentioned previously, even if we didn’t care about achieving a power increase, the fact that this carb simply flows so well is the main bonus, certainly in terms of safety and mechanical reliability. The fact that it comes with a 1hp power increase is just a bonus.
Power review so far
Well we have come a long way on this little PX125… from a puny 6.3hp we know we can easily stretch to a much healthier 9.8hp with the straightforward addition of just an aftermarket exhaust and a ‘home tune’ applied to the bike’s standard cylinder.
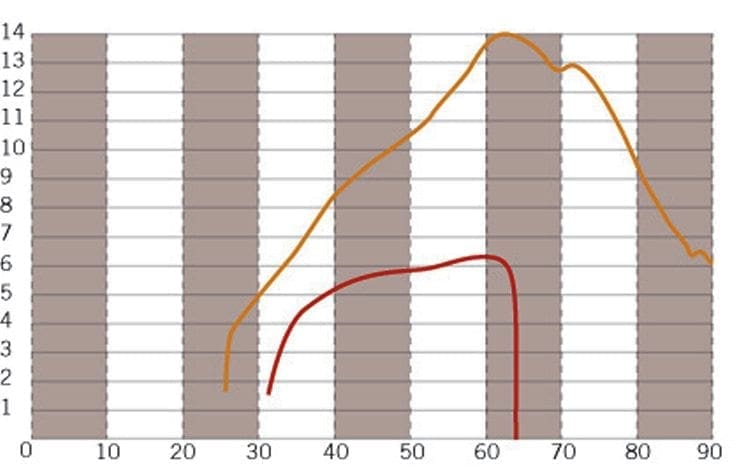
But if we want to simply ‘bolt on’ some more aftermarket parts, we can easily achieve 14hp just by adding a decent kit, crank, carb and CDI. This information gives the home tuner and amateur mechanic options to fit items up to the value of their desired budget. All the time keep in mind that we didn’t even go so far as to port the casings or the kit.
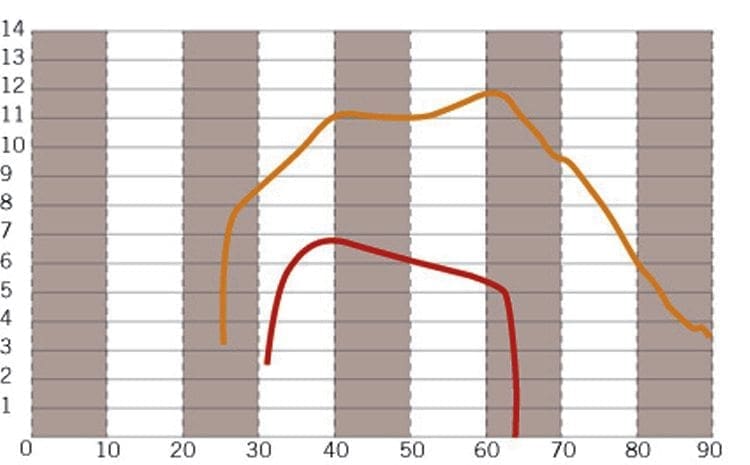
I’m sure we will find out about the potential these offer in coming editions, but the matched casings to kit, and increased inlet duration should easily see another 2hp… perhaps even making this a 16hp Vespa. With a simple up-gear kit (coming in a future edition) we can then also achieve decent cruising speeds and have a very happy and reliable touring machine.
What next? P200/210/220?
Well I definitely want to GPS this engine first, and update the speed and acceleration readings. Then I want to upgrade handling with some SIP suspension. After that we can look at the fitting process for a SIP speedo, an up-gear kit, modified clutch and some better rims and tyres! So plenty more to go at yet. In between all that, we haven’t forgotten about you PX200 owners. We have a Malossi cylinder Kit, a Polini cylinder Kit and a Polini pipe to fit… dyno graphs to provide, and comparisons to make. We will filter those in between the other tests over the coming editions. Stay tuned.
Words & Photographs: Dan Clare

