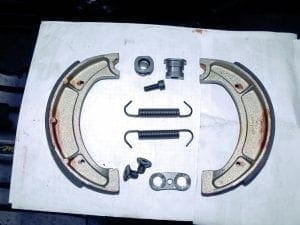
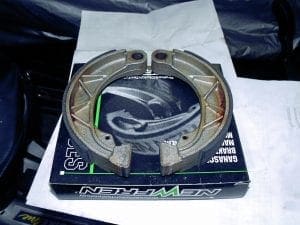
You see, despite purchasing ‘quality’ Italian Newfren brake shoes, once fitted I could hardly get the rear hub back on. Even after filing the shoe faces a little the hub went on but the brakes were binding so much it was unusable. Having left things to the last minute, as usual, I cleaned up my old brake shoes and refitted them, adjusting the cable accordingly. Interestingly, at the rally I was talking to the dealer who I’d bought the shoes from. It turns out that he too had unsuccessfully tried to fit Newfren shoes to his scooter as well, and like me had resorted to using others. That’s not good from what’s meant to be a good brand.
Jockey’s Boxenstop in Germany has had other problems with Lambretta brakes as well, namely that the two M8 threads for the shoe pivot pins of the rear brake are not always located at the correct place. This, in combination with poor aftermarket brake shoes has meant many wasted hours in their workshop as they try to get brakes to work correctly. On the plus side it has led Jockey’s to develop a solution by way of this kit. It uses quality Lucas brake shoes together with other parts that are made in Bavaria and allows them to be adjusted and centred correctly when fitting without the need for any modifications to the engine casing or the hub. Jockey’s tell us they’ve tested this brake kit for a lot of miles in several scooters (also with a sidecar) as well as at a 12 hour endurance race in Austria this year without any troubles. So now it’s our turn.
1. Jockey’s Boxenstop tell us that this kit has been tested with Innocenti, Serveta and SIL engine casings and the different rear hubs without any problems. However, they suggest you could have problems with the reinforced ‘Tino Sacchi’ hubs as their inner diameters are small.
2. The quality of regular brake shoes these days is debatable, which is not good news for such manufacturers during a recession.
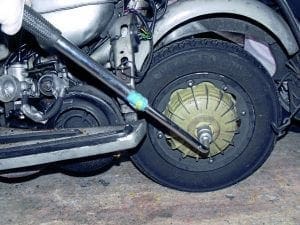
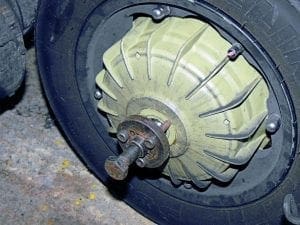
3. First things first; remove the rear hub locking washer and ‘crack’ the hub nut itself. Hopefully your old shoes have enough meat left to lock the rear wheel.
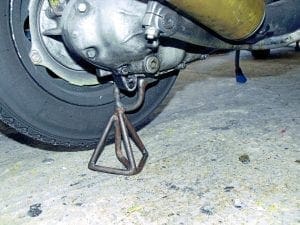
4. The kit is simple enough to fit and can be done in situ. I used a modified Lambretta engine stand to hold the rear wheel off the ground.
5. The way to remove a Lambretta hub without the risk of damage is to use a hub puller. They’re only about £20 as well.
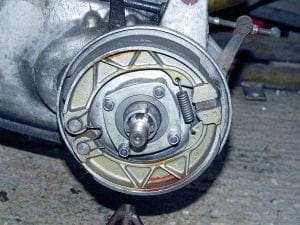
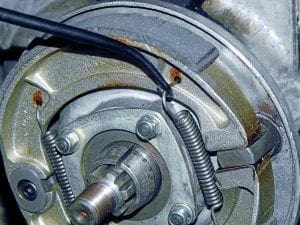
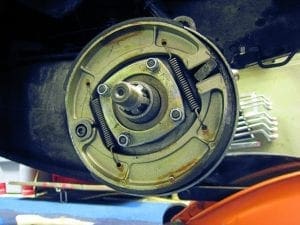
6. This is the standard rear brake shoes and set up. You need to remove the ‘w’ clip, shoes and springs here.
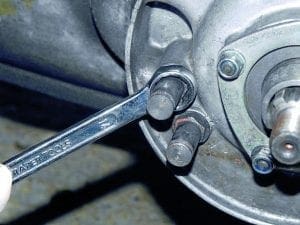
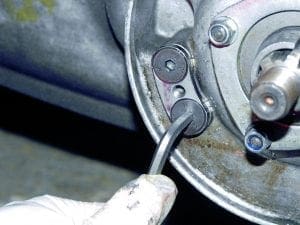
7. Next remove the two brake shoe pivot pins. These should unscrew easily using a normal 14mm spanner, but if not apply some WD40 and let it soak in.
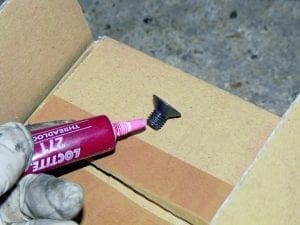
8. Before fitting the new pivot plate to the casing apply Loctite (or similar) to each Allen screw.
9. Then offer up the plate and tighten both screws into the holes vacated by the shoe pivot pins.
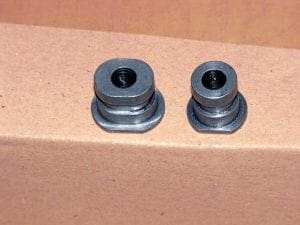
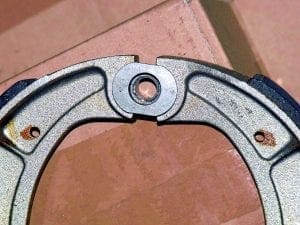
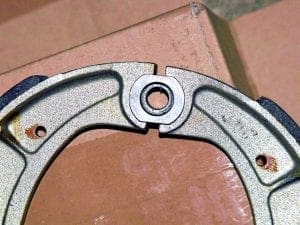
10. 10, 11, 12 Jockey’s kit offers two cams to go on to the pivot end of the setup, depending on your requirements. As you can see they hold the shoes at different widths apart from the start. I found the wider one too much for my engine.
13. Using Loctite again fit the cam and hand tighten, then fit the brake shoes and finally the pair of springs (yes, two now).
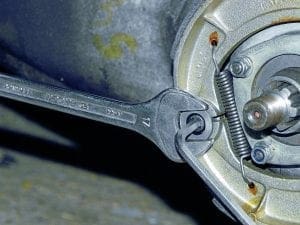
14. You can now adjust the shoes’ position a little, and when you’re happy hold the cam with a 17mm spanner and tighten the Allen bolt in the middle.
15. Fit the rear hub, tighten the nut and see how the shoes feel. If necessary remove it and adjust the shoes’ position via the cam. It took me two goes to get it right.
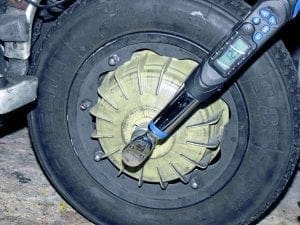
16. When you’re happy with the brakes, tighten the rear hub nut with a torque wrench and then fit the locking washer before adjusting the brake cable and going for a test ride.
Summary
By the time I’d got back from Ireland my rear brake was almost non-existent. However, after an hour or so in the garage towards the end of last year I emerged on my GP and managed to lock the rear wheel and skid on the road outside— I had a back brake again!
The kit is easy to fit, it uses what appear to be better shoes than some previously available, and the process of adjusting the cam isn’t really a hassle in the grand scheme of things. After all, once it’s done that’s it for the life of your shoes. As for the use, well it works just like a rear brake should do; it slows you down. I was out just before Christmas doing my shopping on the GP in fact, and ended up emptying a full tank of petrol as I enjoyed the roads, a tree of Brussels sprouts protruding from my backpack as I filtered through the cars out towards the countryside. And if anyone is interested, my GP is Indian with a new S IL rear hub and a threaded rear brake cable courtesy of Knowledge.
So Jockey’s Rear Brake Kit, recommended? Certainly. And I’ve a feeling I’ll be treating my Li to one soon too.
The price for Jockey’s Lambretta rear brake kit is €49 plus shipping costs (at the time of writing) and you buy it from the website at www.jockeys-boxenstop.de And there is an English language option.

