The end of winter is now upon us and our restoration series is counting down also, ready for the new season. The closing instalments will obviously deal, stage by stage, with the rebuild. Stu has the details mapped out for you…
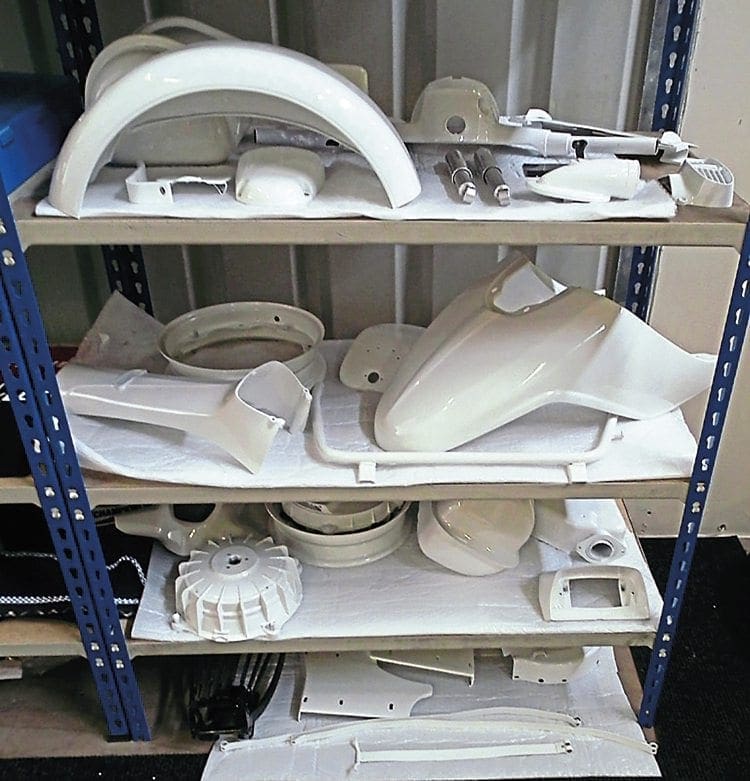
With paintwork complete, preparations can now be made to commence the rebuild. Before starting this part of the project there are several important steps to take so things run smoothly. Firstly, make sure you have a good space cleared for the painted parts. There are a lot of these and they will cover a big area. Make sure all the surfaces are clean and if possible lay a sheet down first to prevent any scratches. Next, make a good clear space in your garage or shed where the rebuild will take place and leave plenty of room. As it may take several months to complete the last thing you want is for it to be stuck in the way where you can’t move around it. If it does become an obstruction, chances are somewhere along the line it will get bumped or scratched.
Where to start — building a base to work from
If you ask 100 people how they would put a Lambretta together you will get 100 different answers. The method we are using here is one that works with the least chance of damaging or scratching the paintwork while at the same time making it as easy as possible to work on. Some reading this article may not agree but it’s been tried and tested over the years.
Prepare the surface the frame is going to rest on by laying down an old bedspread or big sheet of bubble wrap — anything that prevents the bottom of the frame getting scratched.
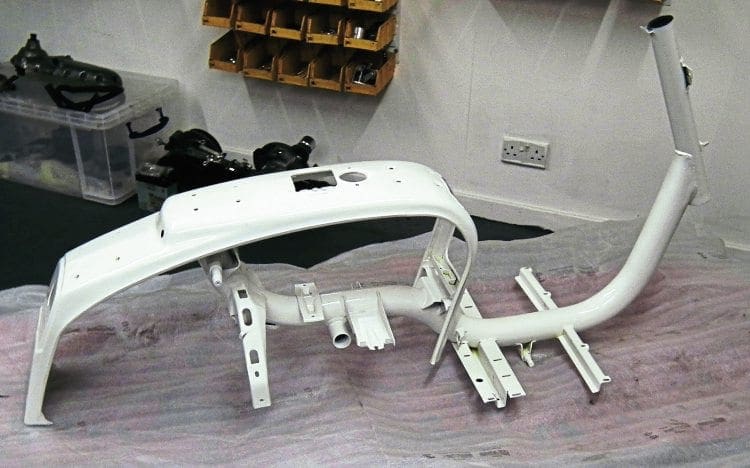
The first component to fit is the stand; from here you will have a secure base to work on. Make sure you have the stand with rubbers correctly fitted, splash plate, spring and fixings ready. Grease the U bends of the splash plate and sit the stand in them. Now fit the 8mm bolt through the stand strut and then the splash plate. Wind a nut and washer on to each bolt so nothing can fall out. While both bolts are loose this will allow you to pull the stand backwards as if it were being retracted.
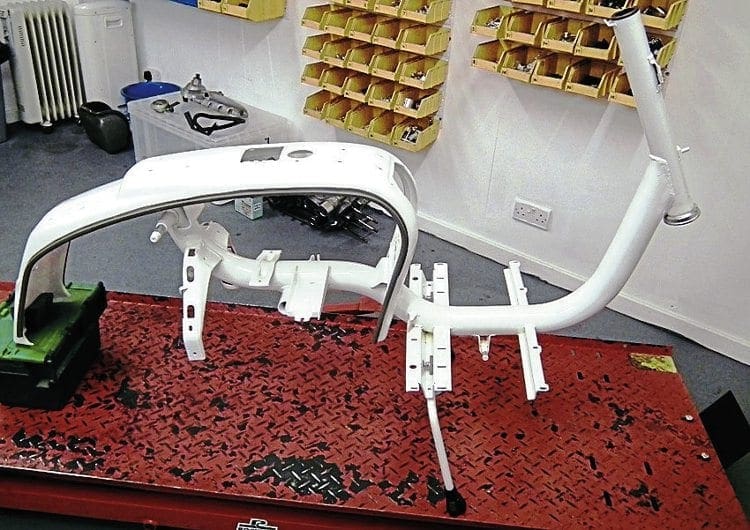
By pulling it back as far as it will go, this shortens the length between the two spring fixings allowing it to be located easily. Now you can tighten the nuts fully and in doing so the spring will go under full tension. Now you can open the stand out ready for the next stage.
Take the forks and place the stem securely in a vice so you have access to fit the springs and linkages. Do not attempt to fit the links in without a fork compressor unless it is a GP type set of links, enough compression of the spring is not possible without this tool. Before fitting the forks in to the frame make sure that both links are sitting evenly. You can check by placing the front hub in the links while the forks are still held in the vice. The hub should sit perfectly in line. If it is to one side then it suggests one of the links is not sitting fully home. If this is the case it is much easier to redo now rather than when the forks are fitted.
Happy everything is in line, you can now fit the forks in to the frame. Make sure the bottom fork cup is perfectly clean and free from any grit or paint. Smear an ample amount of grease on bearing face and likewise do the same to the track on the forks. Slide the bearing race down the forks and again cover with grease. Repeat the same process to the top race before guiding the forks up through the frame stem. Now thread the top bearing nut in to the forks and semi tighten.
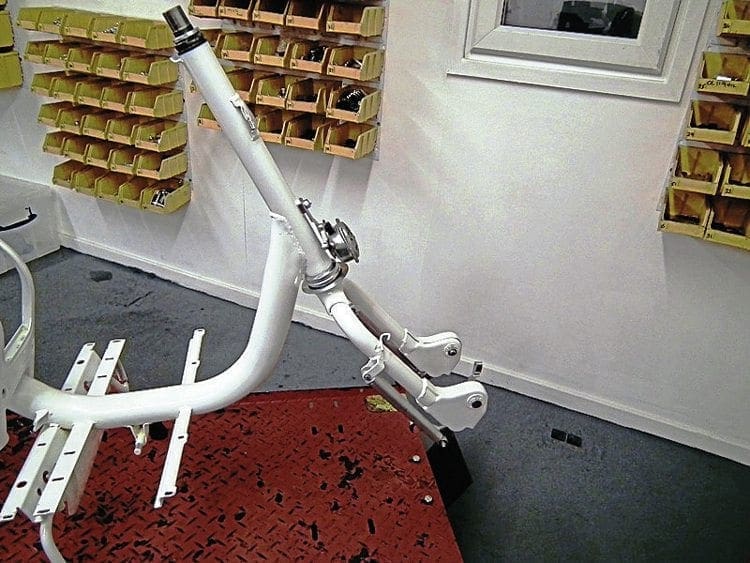
Next comes the difficult part of getting the bearing nut to the correct tightness. You will require the correct tool to tighten this but most dealers have them available with the C-spanner that is also required. Turn the nut until you can feel it start to tighten up. The forks must be allowed to turn from side to side easily without any resistance. If there is resistance then the forks are too tight and must be freed off. You must also check the forks are not too loose. This can be done by holding the forks at the bottom and pushing upwards. If they are loose you will be able to feel movement and play within the stem.
It may take a few attempts to get the correct tightness but once done you can now fit the lock ring and castle nut. When tightening the castle nut use the holding tool to keep the bearing nut in the exact same position otherwise it will move and the whole process will need repeating. With everything fully tightened check the fork movement and play once again before signing this procedure off.
Now fit the headset bottom to the forks. If it is a chrome ring model get an exact fit between the bottom lip of the headset and the chrome ring and tighten the clamp up, making sure it is perfectly in line with forks. This can be done by using your eye to align it perfectly. If it’s a non-chrome ring headset don’t fully tighten as you may need to adjust the clamp height when the leg shields are fitted. With the front hub and wheel fully built it will be now possible to fit them in to the forks. Once this is done the stand and front wheel will be able to balance the frame in its correct position making it far more stable and easy to work on.
Fitting the engine
By fitting the engine next, you will then have a full rolling chassis. This makes the whole machine stable while at the same time making it mobile, if it does need to be moved. Locating the engine in the frame can be done on your own, but with another pair of hands it will be easier… especially if you have problems lining the holes up. Before attempting a fit it there are several things to check: firstly the engine-mount bar, whether it is new or second hand. Make sure it goes through both engine mounts and cones without any resistance. Then the threads on both ends must be clean — ensure that a nut turns perfectly on each thread.
Finally, the shock absorber mount on the frame needs to be clear of any possible paint that may have built up during the spraying process. Again check the thread as it’s far easier to clean this up before the engine is fitted. Now bolt in the rear mudguard. Though this can be done afterwards it is far easier to do so before the engine is in place.
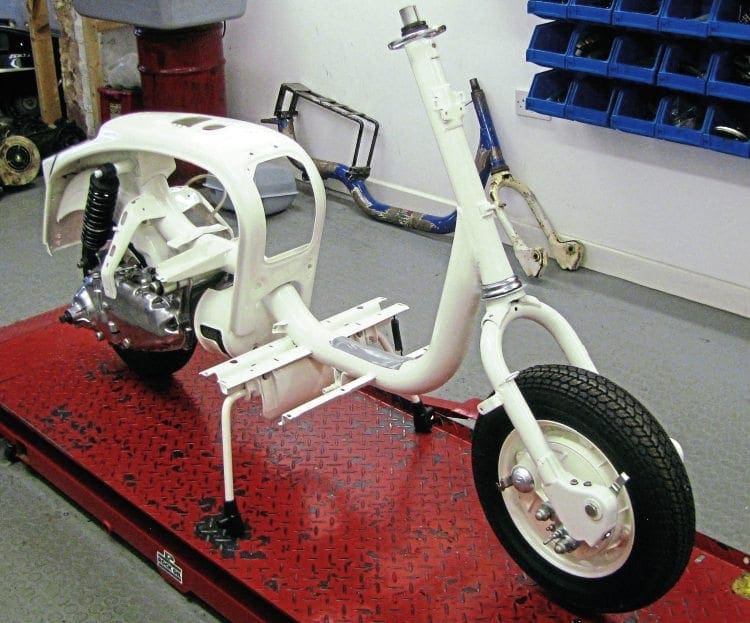
You can fit the engine complete with the exhaust but it is better to leave it off as it can easily get scratched or dented during fitting. Only remove the box section but leave the head cowl and downpipe fitted. Also leave the fan cowl off for the same reasons and because you may need to adjust the timing at a later stage. Insert both engine cones in to the frame with plenty of grease. Now clear an area around the frame so you are free from any obstruction. Place a rag or piece of cloth over the top of the engine where the adjuster block and gear swivel are. This is just a precaution when the engine is first fitted as it may swing up in to the frame and scratch the paintwork.
Place the engine underneath the frame with the mounting bar slid just inside one of the mounts. Lift the engine up so the mount is in line with the frame cones and push the bar through. As you get to the opposing mount, take care to locate exactly as it goes through. If there is any resistance then you are out of line and if you are tapping the bar through with a rubber mallet you may damage the thread on the end. Once the bar starts to slide through, tap it home so there is the same amount exposed at either side. Now place the shock absorber in position allowing the engine to sit perfectly in the frame. Bolt the engine and shock absorber in securely, leaving you with the perfect base to work from. When you’re tightening the engine mount bar nuts you want them to both wind on an equal amount. This can be a problem as the nyloc on one of the nuts can sometimes cut easier, stopping the opposing nut from doing the same. A tip here is to wind both nuts up to where the nyloc starts to go on to the thread. Then with a socket or spanner on each nut wind in simultaneously allowing both of them to cut in to the thread equally.
Cables and wiring
This is the next stage of the rebuild and starts by fitting the leg shields. You may wonder why this is the case but if the cables and wiring are done first it is very difficult to get the leg shields around the frame tube when they are in place. By doing it this way round the problem is eliminated and there is plenty of room to work with even when the leg shields are in situ.

Place the leg shields in position and start by bolting up on the fork stem but don’t tighten. Now sit the two outer plastic floor runners in place and again don’t tighten fully. This will allow slight movement so you can get the gap correct between the top of the leg shields and the headset bottom. Once you are happy with the positioning, everything can be bolted up securely including the headset clamp.
Next build up all the headset controls and fixings ready for the wiring loom. Take the wiring loom and feed from the headset all the way along the frame. Looking down at the headset this sits on the left hand side. Though the correct aluminium frame ties should be used for the time being just use plastic cable ties to hold everything in position. These can be cut off later when the aluminium ones are fitted. This same method should be used to hold the cables in position while they are also being fitted. With the wiring loom in position you can now start the same process for feeding the cables through.
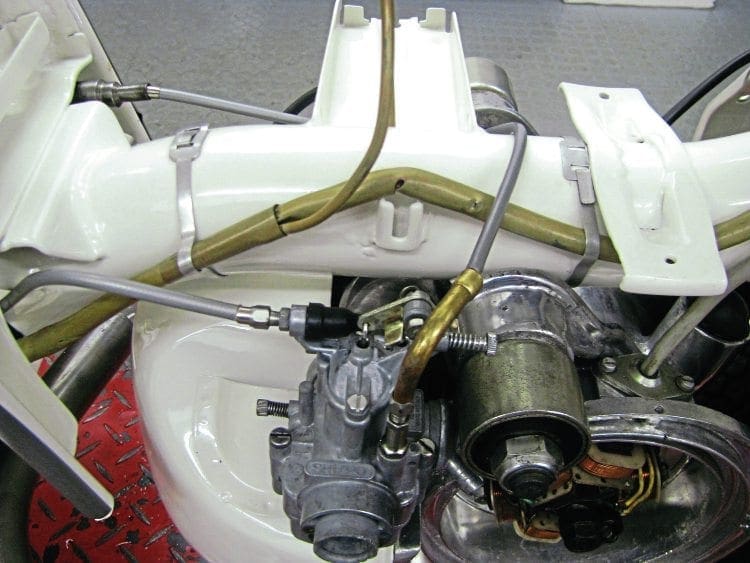
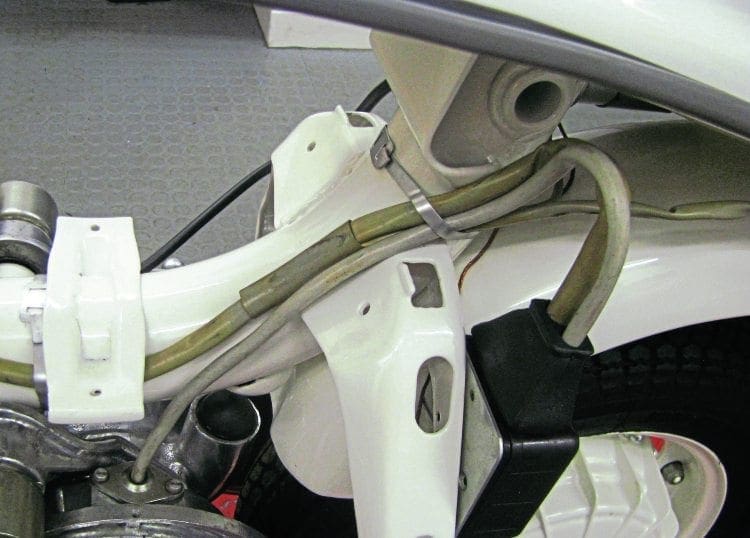
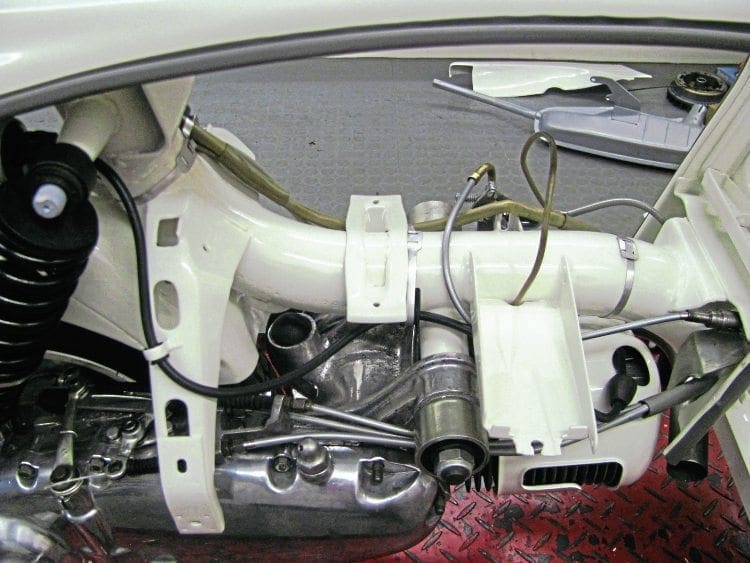
Positioning the cables correctly can be complicated if you haven’t done it before and explaining the whole process would fill this entire article. A full guide to cabling appeared in the October 2016 edition of Scootering (www.scootering.com/scootering-classics-essential-lambretta-maintenance-october-2016). This has all the information you need to complete the process. Another helpful source is a Lambretta parts book. These are readily available in reprint and have exploded diagrams showing cable routing as well as other helpful aspects for your rebuild.
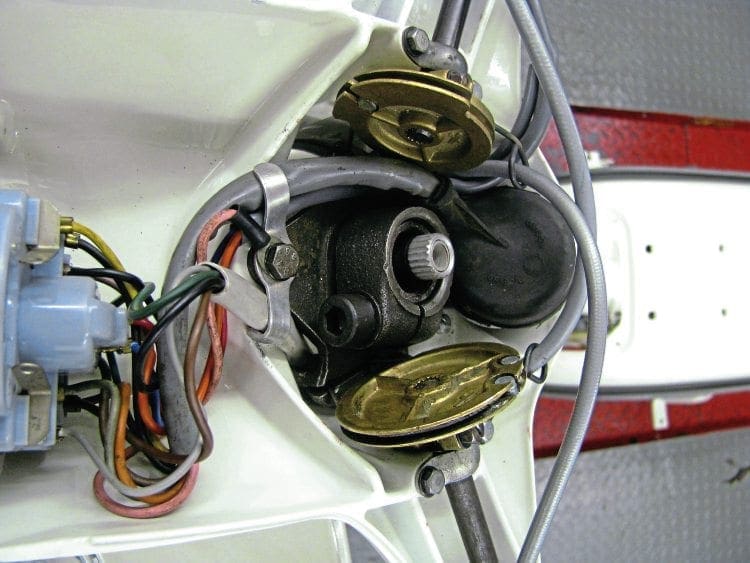
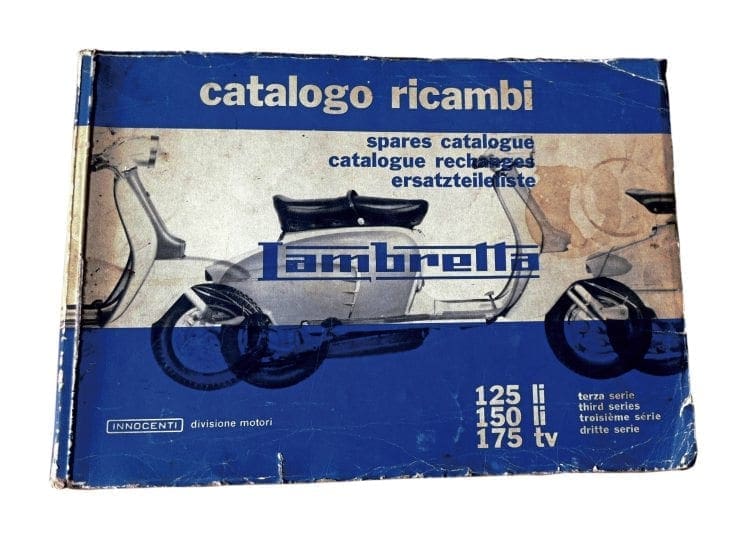
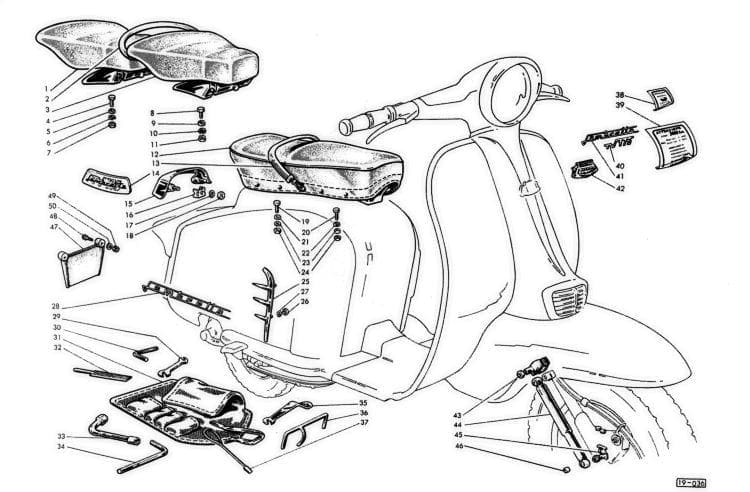
Once all the cables and wiring loom are in position, remove the plastic cable ties and fit the correct factory type aluminium straps. If you have a parts book handy this will show the exact position for each one. Fit and wire everything up in the headset followed by the horn. Now continue along the frame wiring in the brake pedal, junction box, coil and rear light.
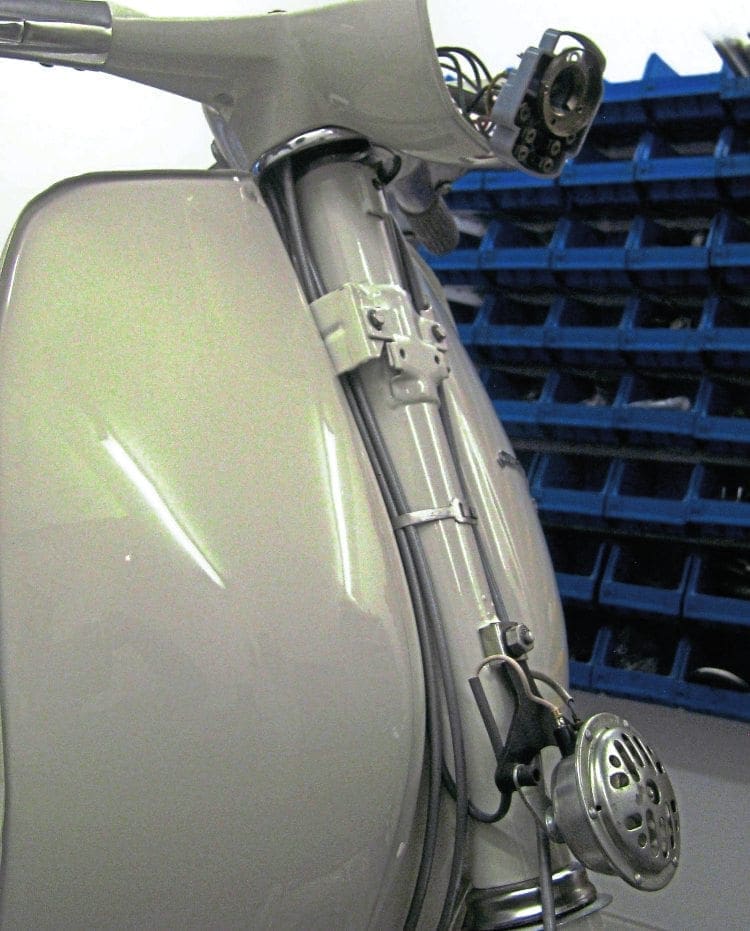
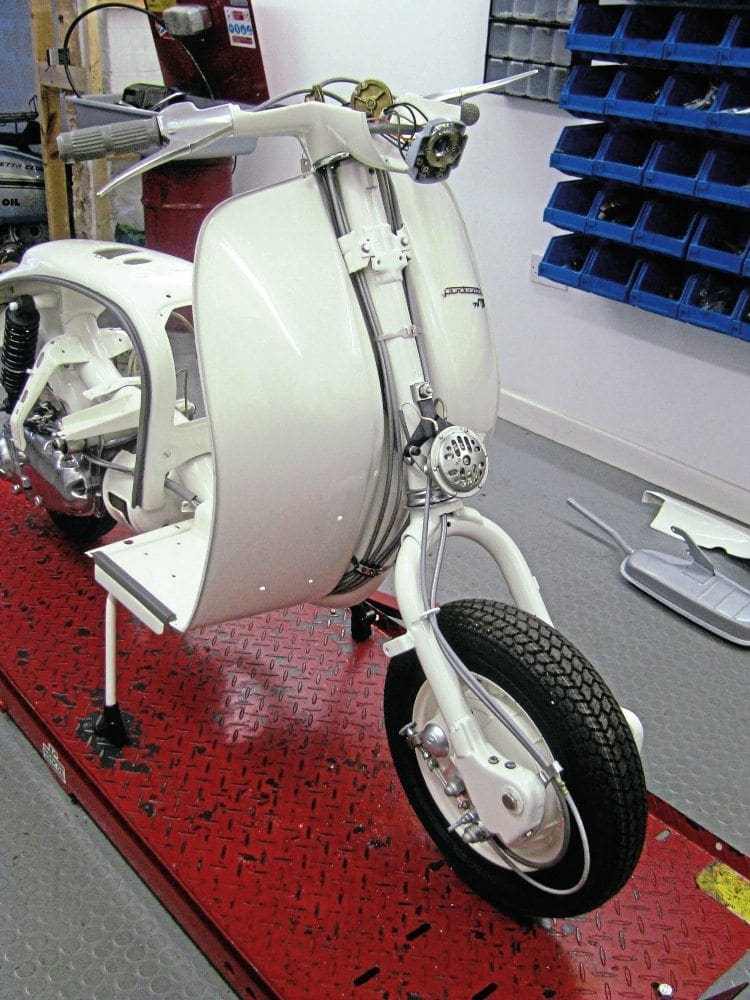
By turning the engine over without the spark plug in, it will be possible to check for a spark and also that the lights and horn are working as they should. Assuming everything is in order and doing what it needs to you can then move on to the next stage.
Frame internals
The frame internals are now ready for fitting and you should start with the petrol tank first. Fit the four frame rubbers and place the tank in position. Feed both straps though and connect the long threaded bolts. As you start to do them up it will be possible to get the tank seam rubbers in position. Get the straps under tension but don’t fully tighten. With the splash tray fitted move the tank in to the exact position so that filler cap is central to the square hole in the top of the frame.

Once that is correct continue to fully tighten the straps making sure at the same time that none of the tank rubbers pop out of place. Now the toolbox can be fitted followed lastly by the air box. Once the petrol tap is connected to the carburettor and the air hose fitted it will be possible to do a test firing of the engine. This is a good time to do it as if any problems are present it’s easier to sort now rather than when all the bodywork is on.
As the flywheel cover has not been fitted, take care not to snag the petrol pipe on the flywheel fins. Tie the pipe up so it is clear of catching before you commence starting the engine. It is best to fire up on the workshop floor as sometimes the machine can jump forward the first time it is put in to gear. If it is on a bench there may be the possibility of it flying off if this were the case. If the engine runs fine and the timing doesn’t need adjusting you can fit the flywheel dust cover and fan cowl. Also check all the lights thoroughly and if running a battery that the charging system is working properly.
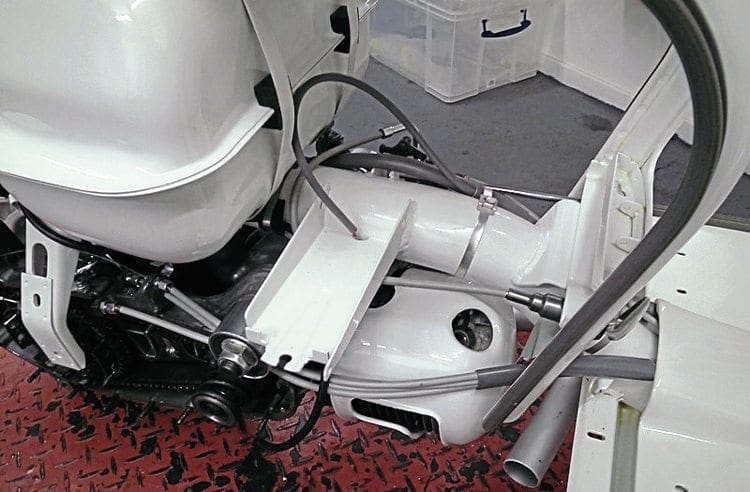
At this point you should have a working and running Lambretta ready for the cosmetic side of the rebuild. This is where time and patience are a virtue as you carefully go about fitting the bodywork. Great attention is required to get every detail correct and without scratching any paintwork. Now is the time to clear up any mess and tools that are lying round as you begin the final stages of the restoration.
Words & Photographs: Stu Owen

