The second part in our series dedicated to painting scooters, last month we covered prep and primer, this month it’s colour coats and lacquer…
Preparation is EVERYTHING when it comes to painting. Nothing reflects the quality of your final finish more than the preparation stage. So if you missed last month’s edition, I strongly suggest you find a back-issue and read up. This month’s instalment however, is far more joyous… it’s the colour coat stage! Once the laborious stage of prep is complete, it’s time to reap the rewards.
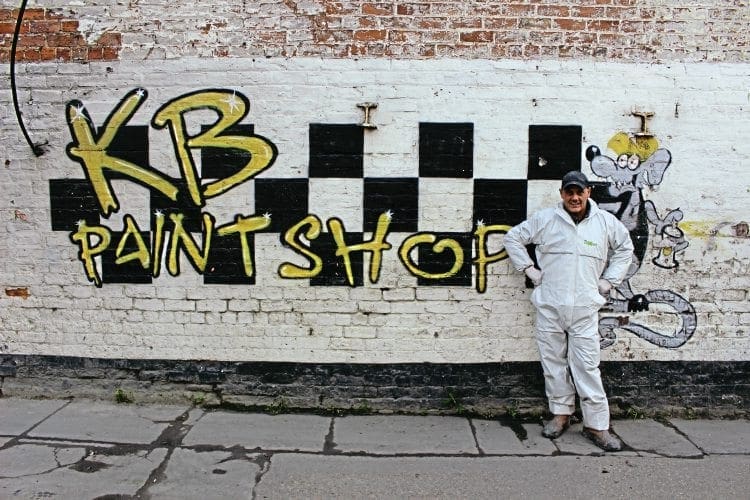
To help us explain the process of this stage, we sought out the expert guidance of Kenny Bradford at KB Paintshop in Hull. Kenny has been a spray painter and scooter owner/rider for over three decades, so his experience of painting and understanding of scooters is invaluable. Kenny’s opening piece of advice, before we even got onto the technical stuff, was regarding choice of colour: “Before you do anything with a spray-gun, think long and hard about your colour scheme. After all the hard work of the preparation stage, people are usually so eager to get a colour coat on, they quite often give little thought to the overall design.
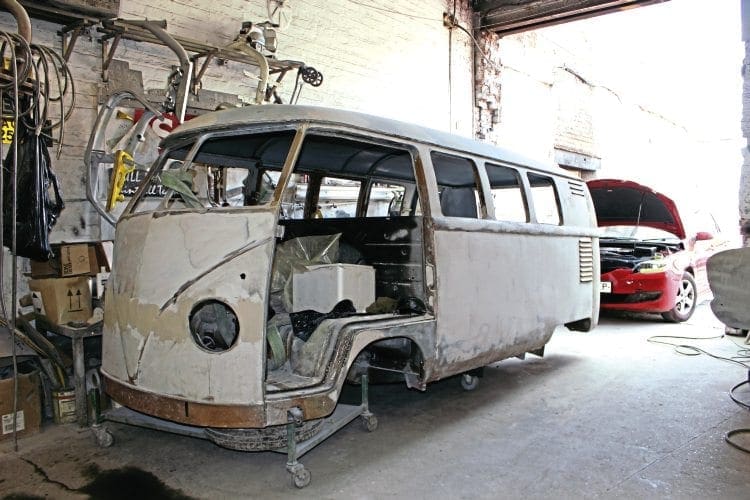
“Some colours work very well together, while others do not. You only have to look at motorsport like F1, WRC, MotoGP and you can see some fabulous paint schemes, and great examples of colours which work well together. Not only do you have to think what blend of colours you want, but also the correct shade too. Using specific colour charts and paint codes is a must.
It simply isn’t sufficient to ask a painter for a blue and white scooter… what shade of white? What shade of blue? There are hundreds. You also need to give a little thought to which panels to paint. Standard reproductions are a no-brainer, but when you deviate from a set template, it can have a massive effect on the overall appearance at the end if you don’t get the design right!”
With initial advice out the way, it was now time for some practical advice from Kenny, on the process of applying the colour coat.
Sand and clean
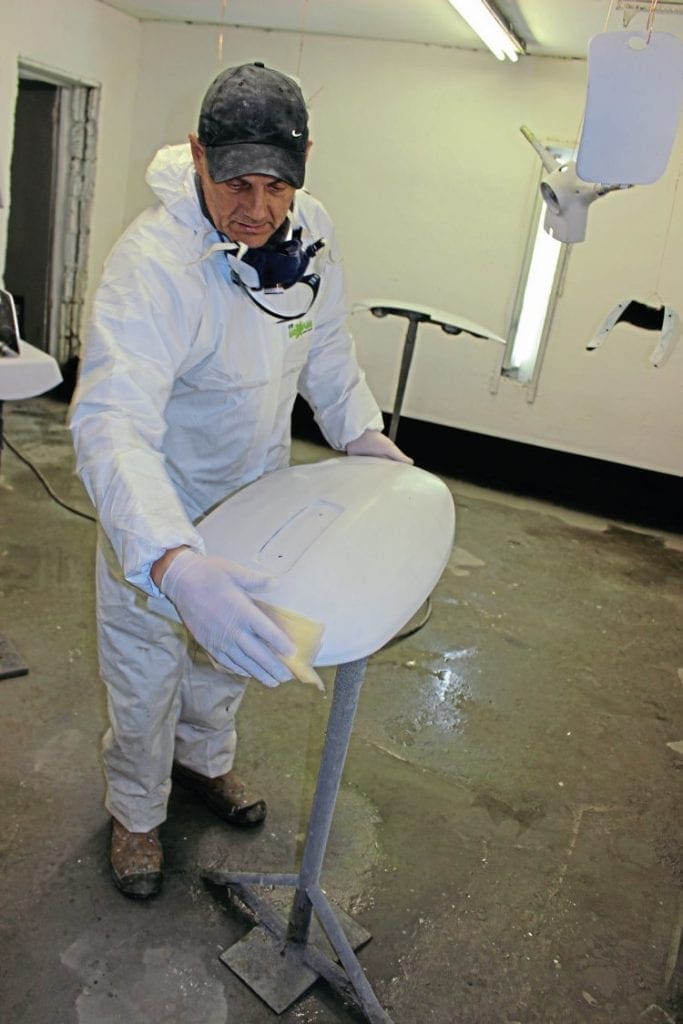
Sanding, sanding… and more sanding. You’ll probably spend more time sanding than spraying during the process of painting a scooter, so get used to that idea. The final job we covered last month in the prep-stage was to sand your primer, starting with a P400 grit wet and dry paper and finishing on P600 grit. Assuming that’s out of the way, we want to wash the panels down with clear water and a sponge, to get rid of any dust or residue.
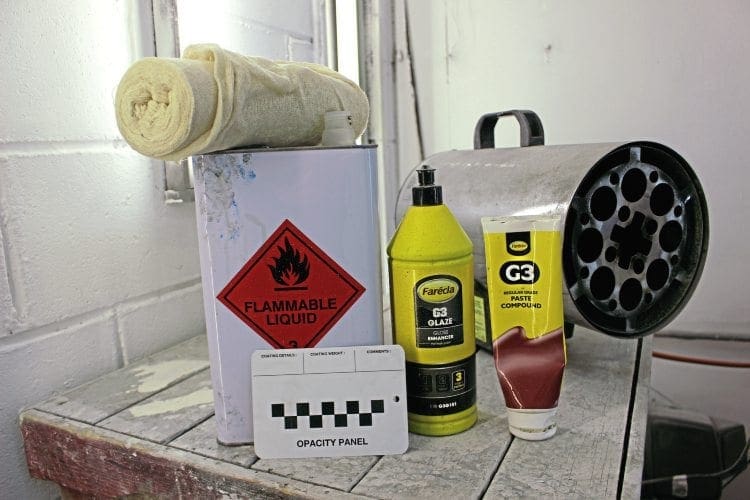
Once the panel is clean and dry, you should follow this stage up with a panel-wipe degreaser and give a thorough wipe over to further clean away any remaining contaminants. The final clean is then done using what is called a ‘tack rag’; this picks up and cleans any last stubborn particles or dust and gives you the cleanest, most contaminant free panel to work with.
Get yer coat on
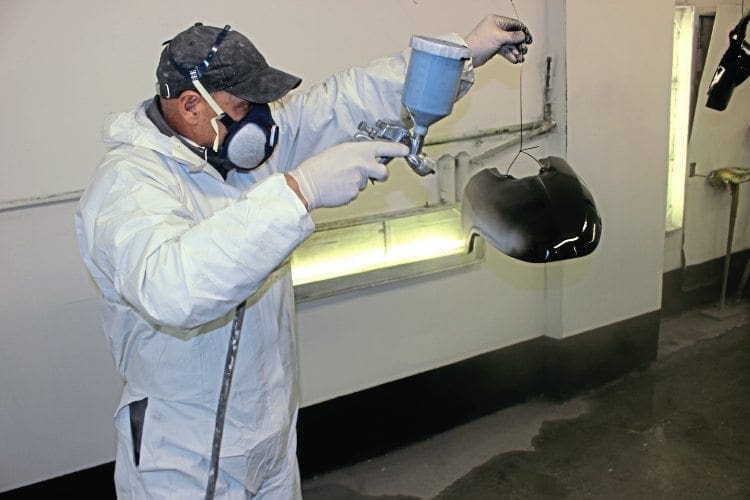
Finally! After all the stripping, blasting, fabricating, welding, filling, sanding, dry building, priming, cleaning and decontaminating… it is time! The first coat of paint can now be applied. The first coat is usually a lighter ‘grip’ or ‘dust’ coat, it’s a full covering of paint, but very light just to allow the paint to adhere to the surface. Allowing 10-15 minutes drying time between coats, the second ‘build’ coat can be applied, this is another full coat, but far more liberal than the first, to help build a good covering of paint with a glossy finish.
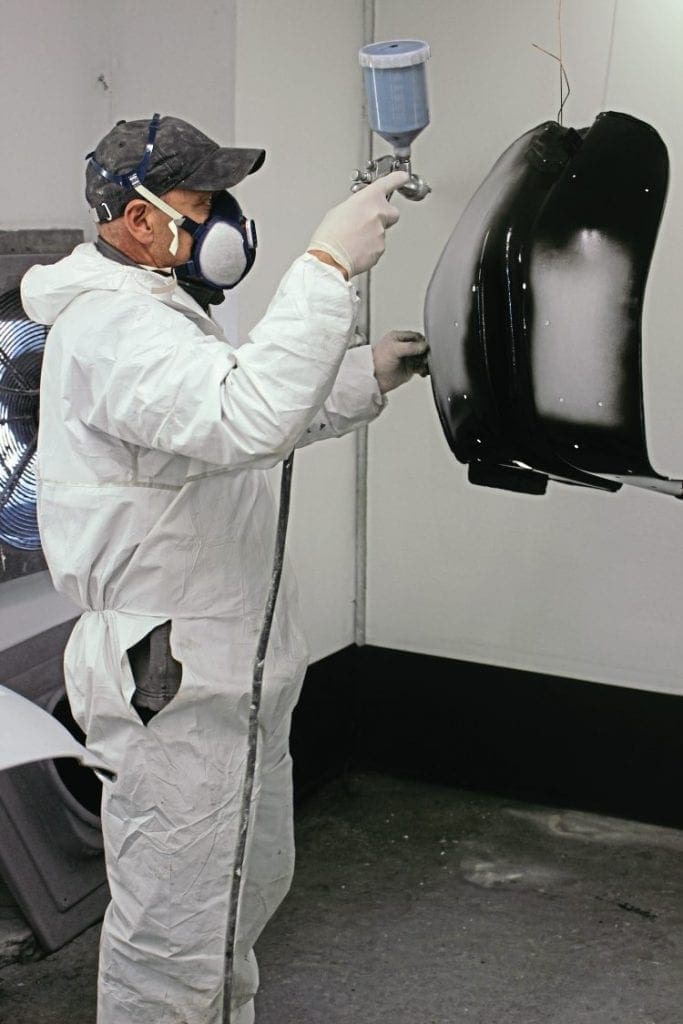
After a further 10-15 minutes you can apply the final full coat. If you are in any doubt as to the technique used, Kenny advises an even and steady left-to-right-to-left motion of the gun, do not pivot your wrist and ‘fan’ the gun… instead move your arm along the panel with the gun and maintain an even spray distance over the whole item.

Kenny advises a 75% overlap of paint for each pass. He explains: “you need an even covering of paint, with a good overlap at a constant distance. This helps build a nice clean glossy finish. This applies to solid colours and metallic alike, the only caveat to that is that the metallic also requires additional ‘waft’ in various directions at the end of the coat to help aid the metallic to flow properly.”
Any lacquer on that sir?
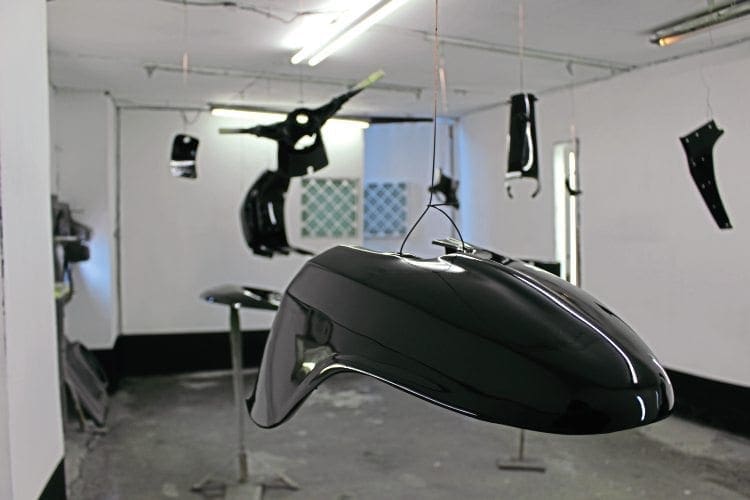
Kenny moves straight to the lacquer stage after painting, allowing the usual 15 minute drying time between coats. He uses the same, dust, build, final coat process as outlined above. Kenny usually applies two or three coats of lacquer, unless he has a special request for a ‘deep’ look where a couple more coats may be required.
Fault finding
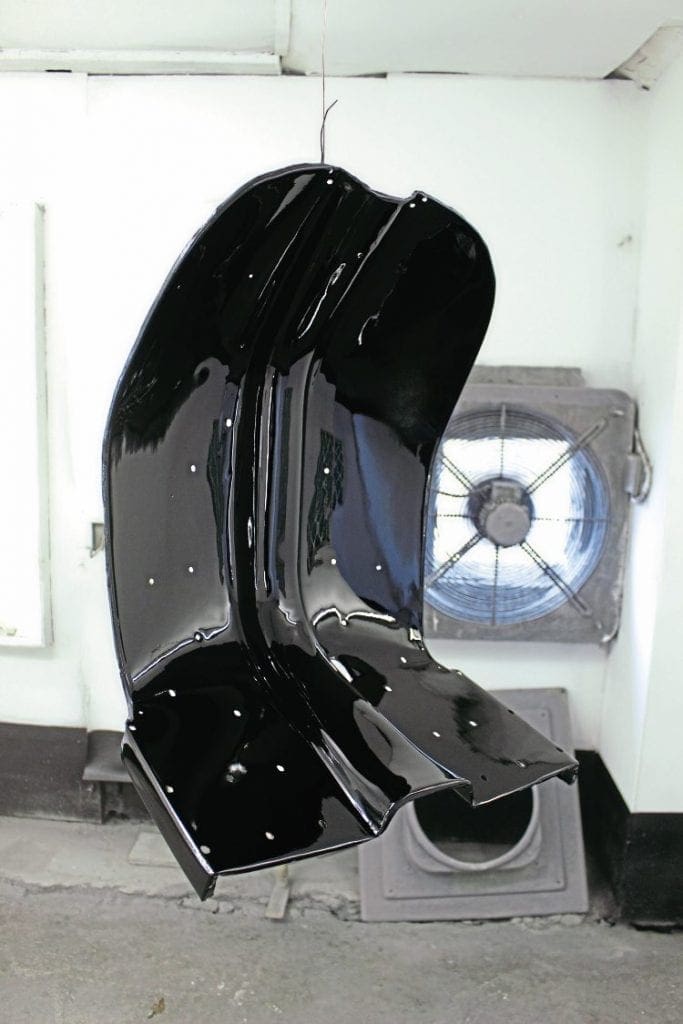
Assuming all went well, you should now have a set of lovely painted and lacquered panels. Kenny allows the panels to cure overnight, and checks the next day for any faults, stray particles or other imperfections. He then lightly flats them out with 1500-2000 and soapy water. Once the flatting stage is done, he buffs each item by hand. His advice on polishing is as follows: “Don’t use a buffing machine, do it by hand. Machines are okay in industrial applications, or on large surface areas like car bonnets and panels, but not for scooters. Scooters have too many lines, curves and edges and a machine is too heavy and ham fisted. You’ll most likely polish straight through the paint at this early stage before it’s fully hardened.
Mixing ratios
I asked Kenny about was mixing ratios, how to mix the paint and primer correctly. He said: “I mix basecoat (metallic paint) at a ratio of 1 to 1 with basecoat thinner. I mix 2k (direct gloss): 2 to 1 with activator and 10% thinner if required. I mix 2k primer: 4 to 1 with activator and 10% thinner (some makes are possible 5 to 1). If using cellulose primer, and depending on coverage required it can be mixed 2 to 1 with thinners or even 1 to 1 for thinner coverage.
Tip: You cannot put cellulose paint over 2k primer, it will ‘crazy pave’ crack. However you can put 2k paint over cellulose primer, which is a helpful tip if buying a project scooter already in primer, they do crop up quite frequently.
Tools of the trade and environment
The last piece of advice I asked Kenny about was what bits n’ bobs he was using for the job. He told me: “These days’ guns are high-volume and low-pressure, my gun only cost £30 and gives fantastic results using 40-50psi through the regulator. For polishing I use mutton cloth and Farecla G3 regular grade paste compound to polish first, and then finish with a G3 glaze ‘Gloss Enhancer’. Another big change is I don’t run the old-fashioned paint-scheme system any more either, it’s just not economical.
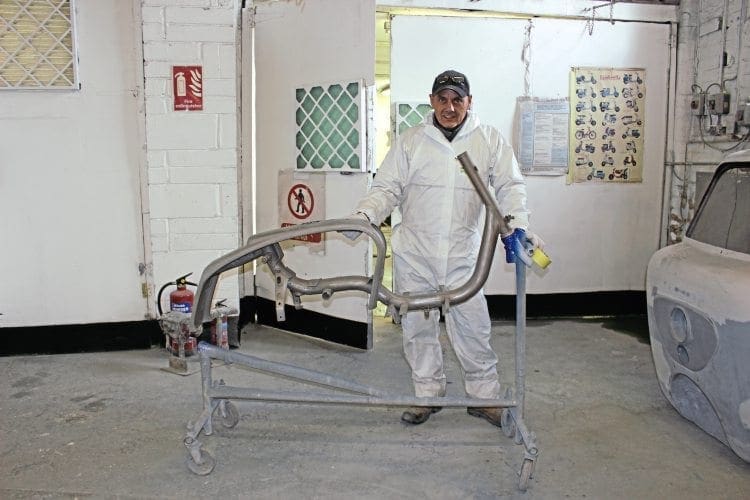
“I can talk a job through with a customer, decide on colour and design, and then order in any paint I want straight away. It’s easier and cheaper for both me and the customer. As for my working environment, you need clean air and warmth to spray-paint properly. The clean air isn’t just about paint contamination, it’s about health. 2k paints give the best and hardest finishes, but they contain isocyanates which can damage your health. So I have extractor vents out from both the booth and the workshop for any overspray. I use a special spray mask which filters out the harmful particulates, as well as wearing gloves and a paint suit. You have to take your health seriously when painting, as well as keeping everything clean for the job. I also pre-heat the room before I spray, turn the heaters off while spraying, and then after the correct clearance time (allowing the spray mist to be cleared by the extractors) I turn the heaters back on in order to maintain room temperature. Never have a naked flame heater near paint fumes or materials, it’s a serious hazard.”
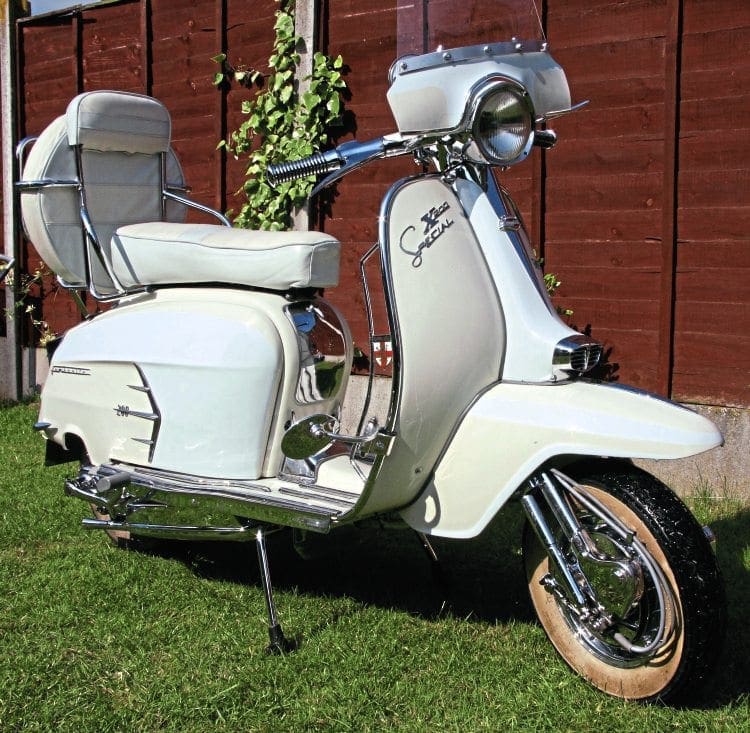
A COUPLE OF SCOOTERS FROM KENNY
A recent customer scooter just finished and looking lovely. And another one he did which ended up in the This Is England film.
Upcoming reports
Over coming editions, we will look at the intricacies of using multiple colour schemes, which order to paint each colour in, and how to mask effectively for various styles of paint job. In later editions we will look into types of pearl, candy and flake…as well as expert airbrushing by the masters!
Words & Images: Dan
Thanks to Kenny Bradford @ KB Paintshop
ISOCYANATE IN PAINTS
Paints containing isocyanate are used extensively in motor vehicle restorations, as almost all motor vehicle repair hodyshops use 2-pack or `2k’ isocyanate¬containing paints. Isocyanates are used in some water-based paints, most base coats and almost all lacquers. ‘Water-based’ does not mean ‘isocyanate-free’, just that it is emulsion based and has reduced levels of solvents. Always paint in well ventilated areas, with efficient extraction and clean air feeds. Always wear the appropriate safety clothing.
This article was taken from the June 2016 edition of Scootering, back issues available here: www.classicmagazines.co.uk/issue/SCO/year/2016

