PART 7 – FINISHING AND SIGNING THE PROJECT OFF
Now the time has come to finally finish off the restoration. Though it may seem like everything is completed there are some areas that need attention to make sure you have done the best possible job.
Cutting corners now will make the restoration look poor or unfinished and there is no excuse for being complacent. The fine attention to detail will not only mean the machine stands out but will make you proud of what you have achieved. There is a strange feeling when you take your Lambretta out for the first time since it has been restored.
On the one hand, it is a proud moment as the machine goes down the road possibly decades after it last did so. On the other hand, it can be a scary feeling as you listen out for any untoward noises as everything starts to bed in properly. Don’t worry about it too much because if you have managed to get this far you will be more than capable of sorting any issues if any do arise.
Right now you need to make sure the engine runs fine and that the scooter drives nice. As the restoration is standard the cylinder will be to factory specification so great care needs to be taken when taking it out on the road for the first time. Before you do anything make sure the tyre pressures are correct as they may have lost some air during the time the machine has sat on the bench. Happy everything is correct you can continue with firing the machine up. The best policy is to warm the engine up on tickover and low throttle for a few minutes before setting off.
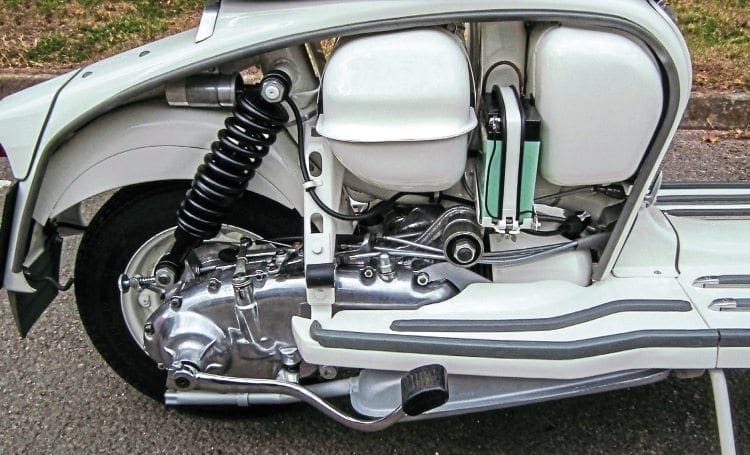
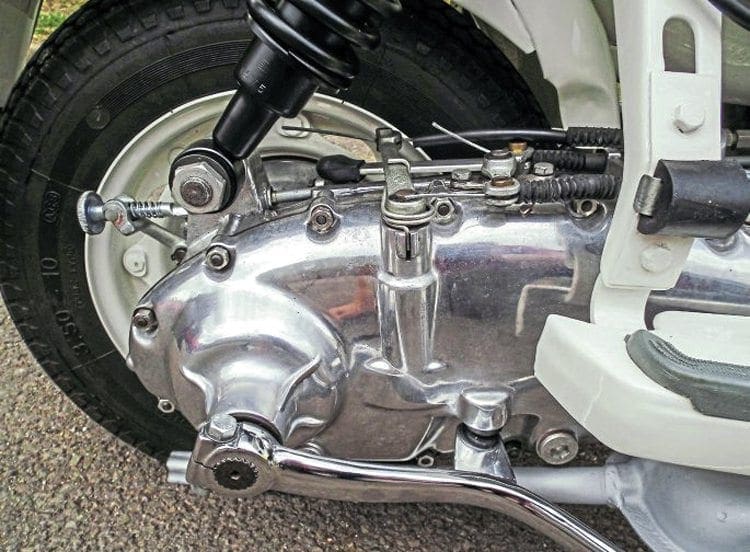
Make sure you run a slightly richer mix in the fuel of around 4% to start with. This will help get oil thoroughly round all components in the top end and prevent any unnecessary wear. Always use a high grade two-stroke oil not just to start off with but also in the future. Finally, don’t forget to make sure the gearbox is full of oil. We have all done it, shooting off down the road forgetting to put enough in and causing unnecessary damage. You can use the tried and tested method of a piece of masking tape on the side case with “no oil” written on it as a reminder.
However you go about it, make sure there is adequate gearbox oil in the transmission and both the filler plug and drain plugs are fully tightened. Another quick note is to check the filler plug is not blocked and can let the crankcase breathe properly.
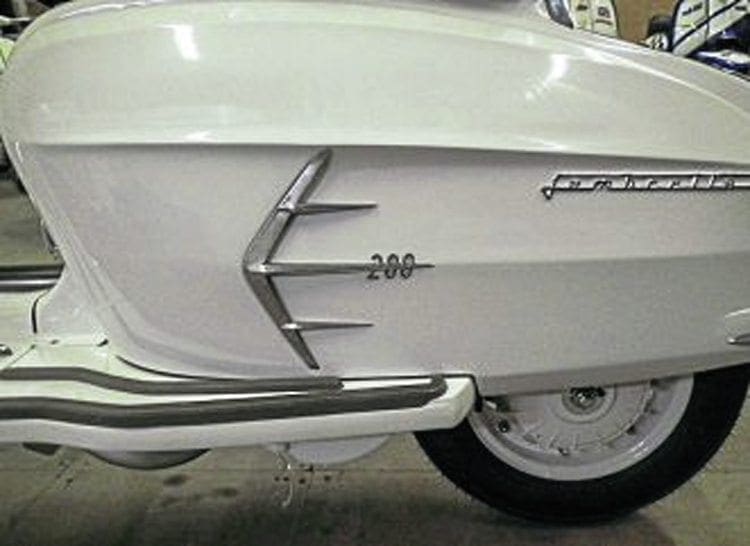
When selecting first gear, remember the machine may jump forward slightly due to the plates sticking with lack of use. Make sure you have a clear area in front of you so you don’t hit anything. On the first run only travel a couple of hundred yards or so before returning. If you get the chance, drive over a bump in the road or up the edge of the kerb onto your drive – something that compresses the rear suspension. Stop the engine and take the panels off. Now you can check there has been no rubbing from the bottom of the side panels on the footboards.
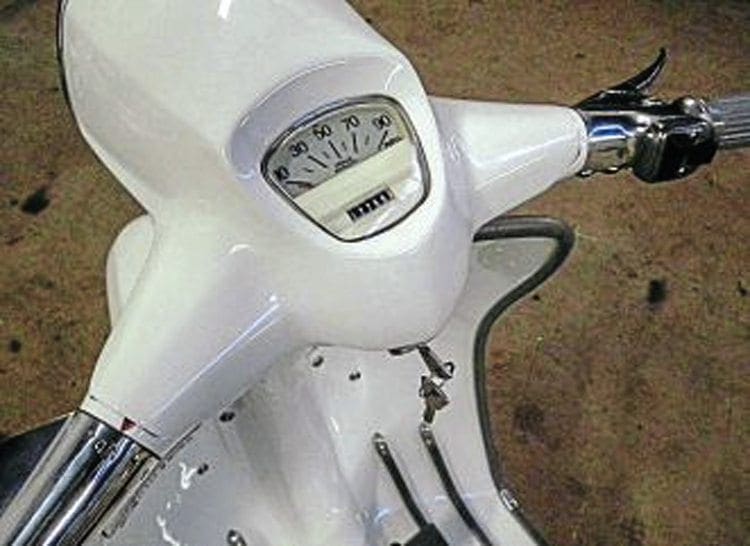
If there has there will only be a slight mark and give you chance to adjust things before doing any real damage to the paintwork. Assuming everything is okay or altered you can now go out on a proper test ride. Remember you should have your machine fully taxed and insured as well as a current MOT before going out on the road. The onus is on you the owner to make sure you are fully legal before making any journey, even test riding.
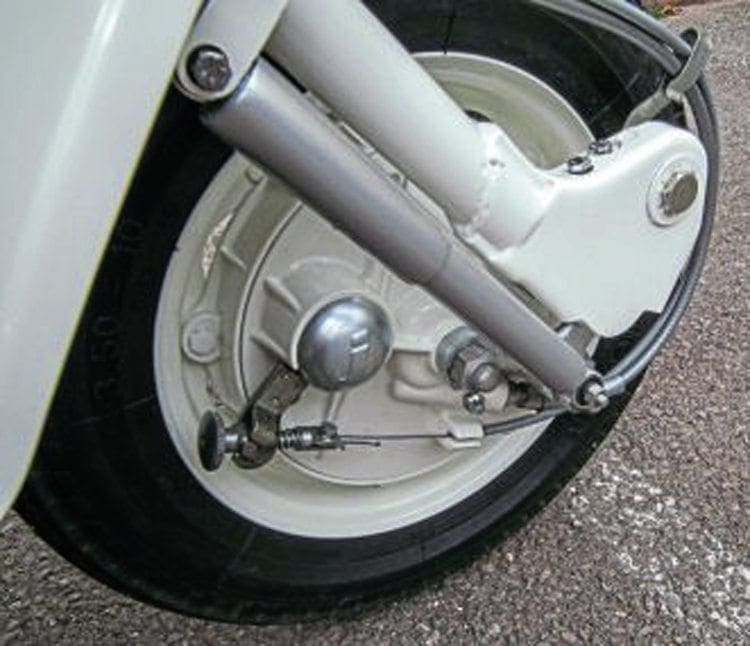
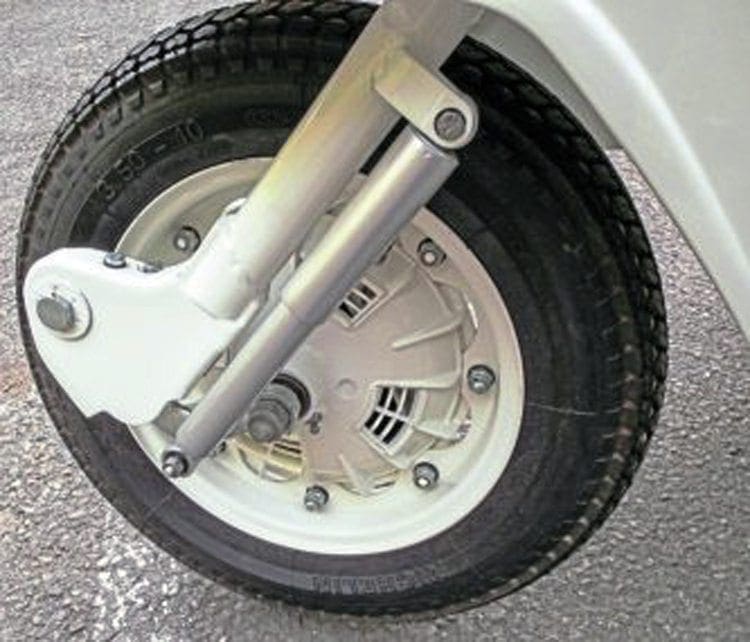
Don’t go blasting off up the road without trying the brakes first. Remember the brake shoes and pads will need time to bed in and also the cables will stretch slightly when first used, possibly preventing you from applying full pressure on the cam. Once there is some heat in the brakes you will be able to see how efficiently they work. You can then adjust them accordingly but don’t over-tighten as they can quickly bind causing the paint to discolour as the hub gets hot.
Fine adjustments
The biggest adjustment, if needed, may be to the clutch cable as this commonly stretches. Get it to a position where you are happy with the biting point, making sure it doesn’t drag due to the cable being too slack or overheat the clutch itself as it’s too tight. Finally, both gear cables are bound to need some correction after initial use. Make sure you can select all four gears and that there is no excess play on the gear change when in neutral. With all cables, you can alter the length by way of the thumb wheels on the brakes or the adjuster block for the clutch and the gear cables. In certain circumstances where the cable has slipped, it might be the case that a cable may be outside of these parameters and needs resetting again from scratch. This is a rather annoying exercise but cable stretch can’t be prevented and readjustment plays an important part in getting the machine set up right.
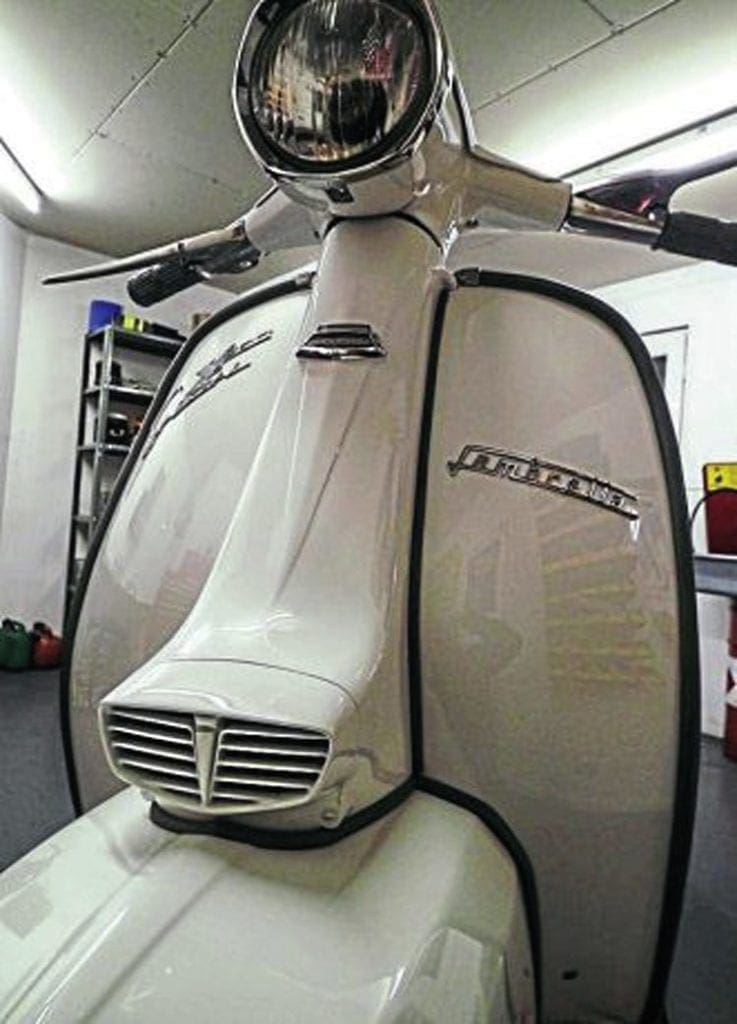
Now the focus can be switched to the engine to make sure it is running correctly. Though the tickover can be set it will alter after a few miles as the bore and grip from the oil seals loosen off. Don’t bother to set it exact until after at least 20 miles of riding and even then it still may fluctuate slightly. Don’t set it too high or it will crash into first gear when you select it. Also, don’t set it so low that it stalls when doing the same procedure. Get the engine warm and set the idle slightly high and gradually bring it down till you have a happy medium.
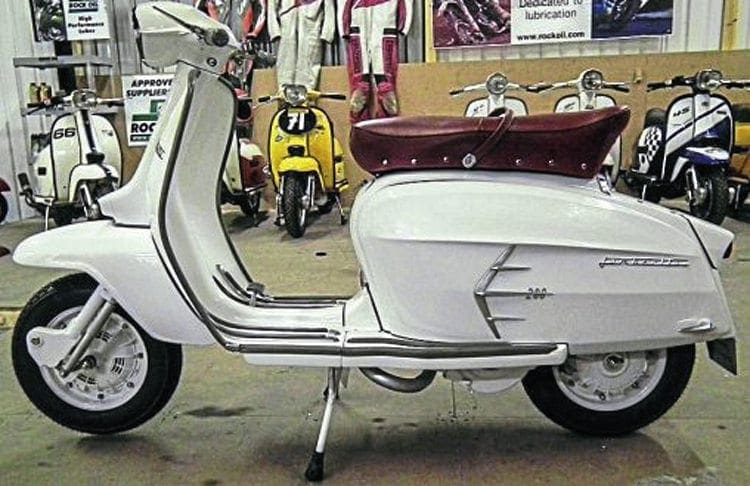
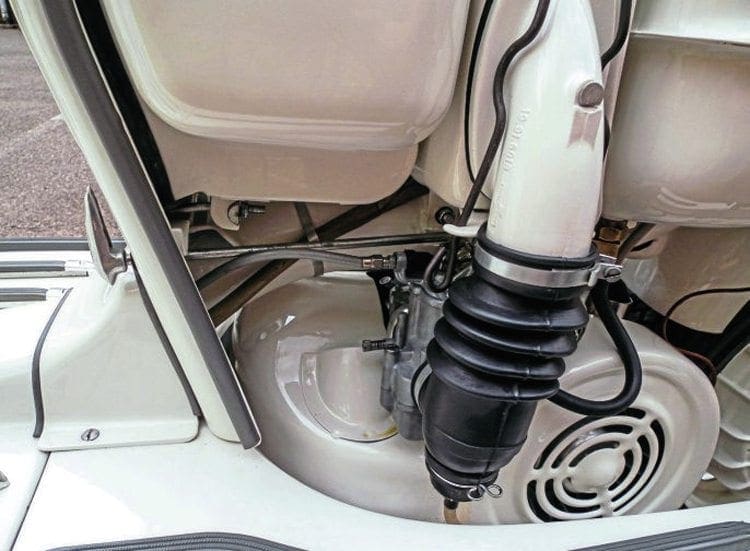
Heat from the engine will be at its greatest during the first few miles of running as this is when there is the most friction on the bore. Don’t rev too high in each gear and try not to hold it for a long duration in fourth gear. Either take a trip down windy country lanes or around an estate where many gear changes take place. Even though it is a factory standard engine and not tuned, still carry out a plug inspection to make sure it is getting up the proper dark brown colour on the ceramic and electrode. As the carburettor and jetting should be present and running through the air box, still check the spark plug. The problem of an engine running weak needs immediate attention to prevent damage to the top end. The reality is the engine should run perfectly from the word go as it is totally standard but don’t take this for granted. Once you have a few miles on the clock take a quick sample of gearbox oil from the bottom drain plug. There may be a slight bit of swarf which is to be expected as everything beds in. If there is an excess amount or the oil has discoloured you will need to investigate. Regardless of how good the oil looks always change it after the first 500 miles.
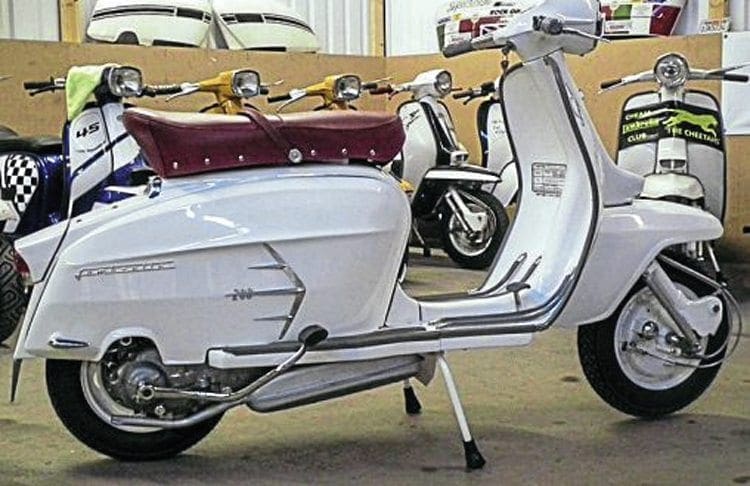
If you are happy with how the engine is running you can give a final check to the whole machine, this includes the lights and electrical components, making sure that the battery is charging if one is fitted. As everything will have had time to bed in, now is the time to make sure no nuts and bolts have come loose. This includes all components from the wheel and hub nuts to footboard fasteners. Remember the Lambretta does vibrate considerably and though you may have tightened everything down originally there is the tendency for something to shake loose. Go from one end of the machine to the other until you have checked every nut and bolt.
Cleaned to perfection
After all the long hours of hard work from getting covered in dirt and oil to sweating nervously as you try to fit the leg shields without scratching them, the time has come to give your restoration the final valet and clean. There are many cleaning products out there but only buy the best and if possible try not to use a thick wax that leaves a residue. There are many areas on Lambretta bodywork especially around the badges that can leave a buildup and it can be hard to move afterwards. Not only that, it doesn’t look nice and gives an unfinished look to it. Make sure you buy a few polishing cloths which are fairly inexpensive and will give a great shine to the paintwork. Try not to use an old shirt or piece of clothing that may have a rough edge as this can sometimes mark or possibly scratch the paint. Assuming you didn’t do your road test in the pouring rain this will be the cleanest your restoration will probably be so it doesn’t need a huge amount of cleaning.
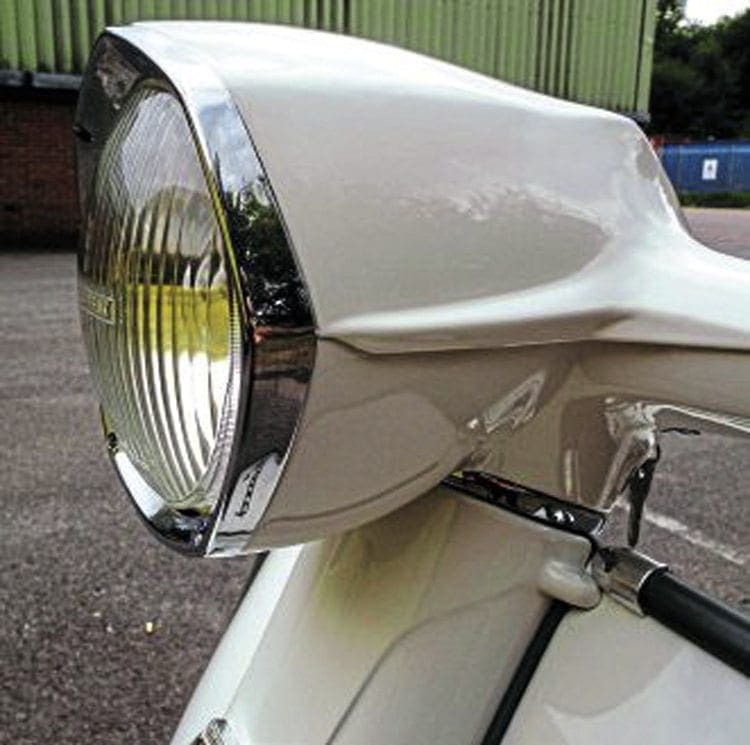
The final attention to detail can be given to odd parts that need touching in with a paint brush. Such items as the horncast screws which on some models were painted white, as are the two 11 mm bolt heads which hold the right-hand side footboard bracket on. A good tip is to lightly sand the head of the screw or bolt before touching in to prevent the paint from running off and giving it something to adhere to. Another area of touching in is the splayed area of the badges on the inside of the leg shields.
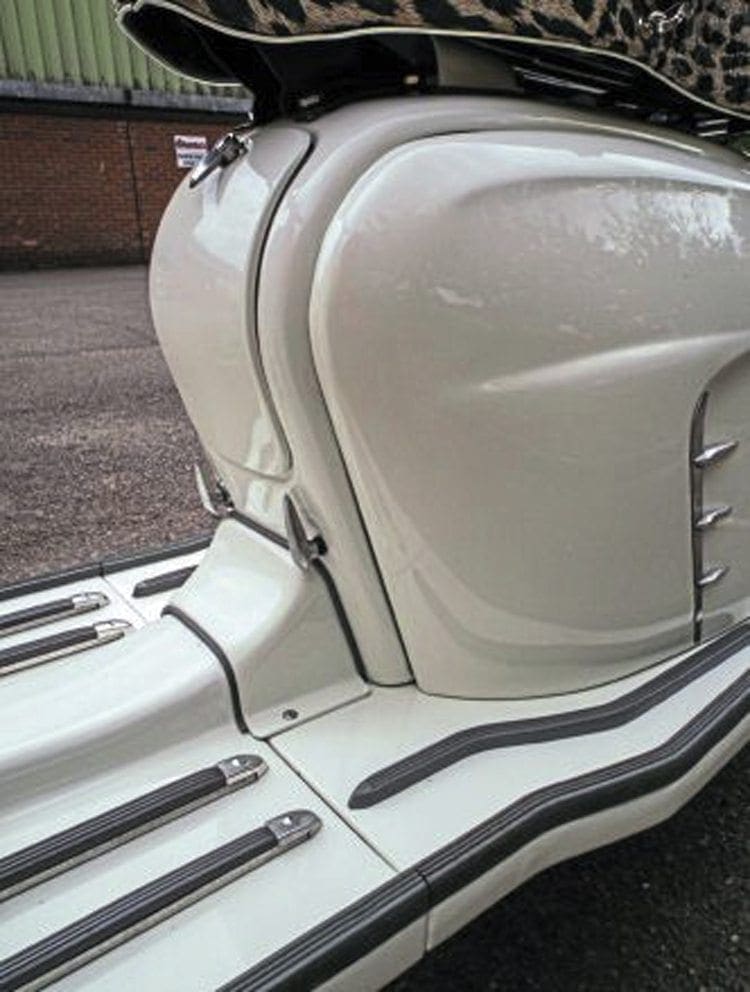
Having looked at many unrestored examples in the past some have been touched in and some haven’t and it seems it depended on who was on the production line that day as to whether it was done. The decision is up to you on this one and can depend on how good they look before doing any touching up.
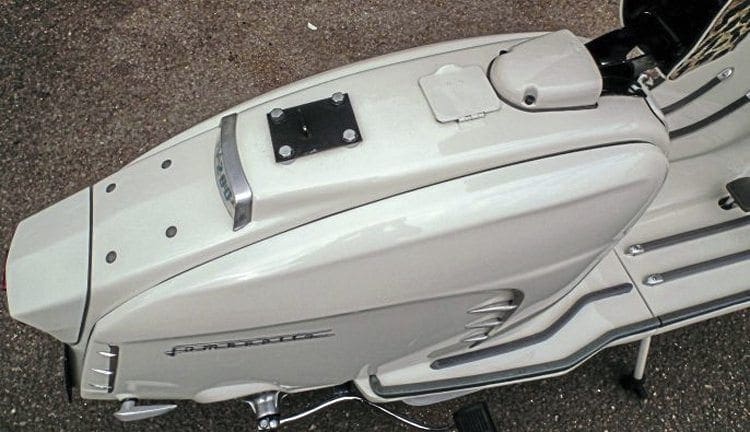
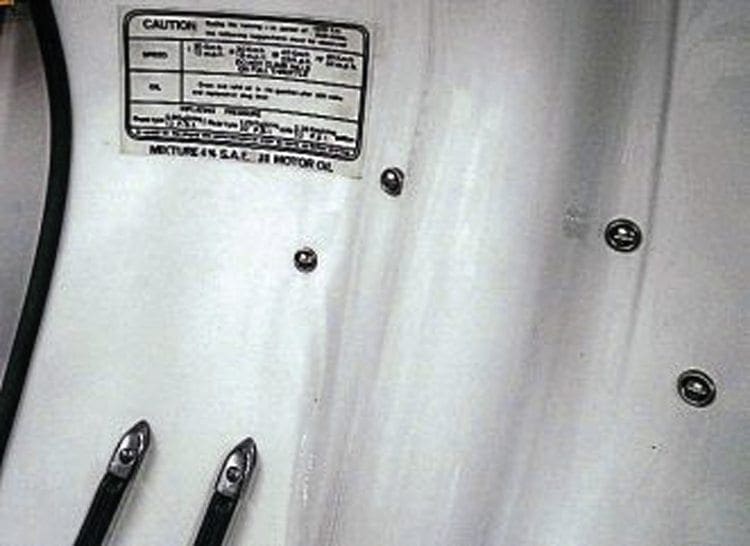
Lastly is the fitting of the running in instruction and warning stickers. There are plenty for sale on the market and though they look good can be a pain to fit without getting any air bubbles underneath them. The petrol flap sticker is easy to fit as it’s on a flat surface but the air filter, tool box and leg shield stickers are more awkward. One note here is the positioning of the running in sticker on the inside of the left-hand side of the leg shields. Quite often people position it between the mudguard screw and the top of the floor runners when in fact it should be positioned just above the bottom horncasting screw.
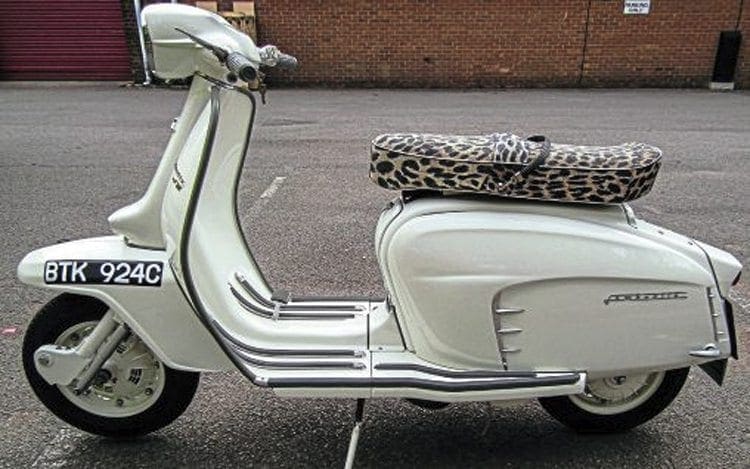
Having checked everything over one last time the restoration can finally be signed off. You can take great pride in what you have achieved. When you have finished though two thoughts usually come to mind: when will the next sunny day be so I can take it out for a ride, swiftly followed by, I wonder what restoration I’ll do next?
Words & Photographs: Stu

