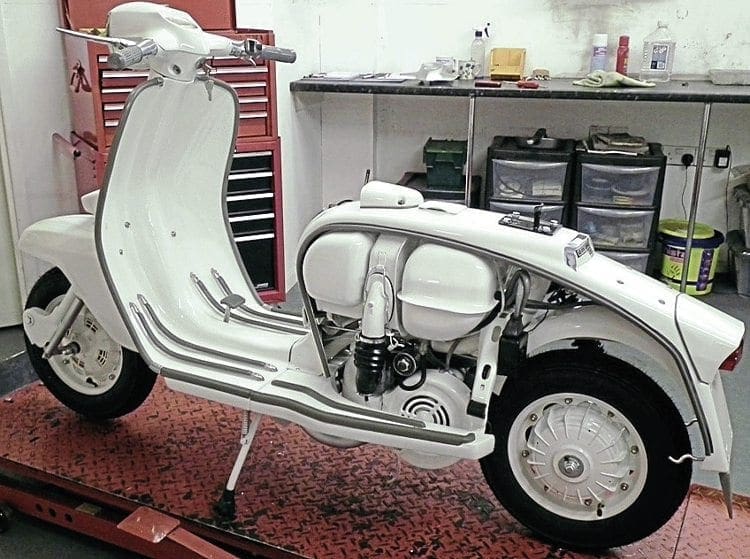
This month sees the start of our new series on Lambretta restoration based around all series three models. We take you right from the very beginning of the initial stripping down to fully rebuilding your project to completion. Each month we will look at a specific area of the process in detail, guiding you though all the important aspects in reaching your goal.
Choosing the right project
When considering which Lambretta you are going restore there are a few important choices to make. The first thing to decide is exactly which model you actually want. Is it because you had one years ago, there was one in the family back in the 1960s or it has always been your dream to own a specific one? Whatever the reason, once you have decided don’t change your mind. It may be the case that you already have the Lambretta you want to restore in your possession. That’s fine but if not search until you get the right one.
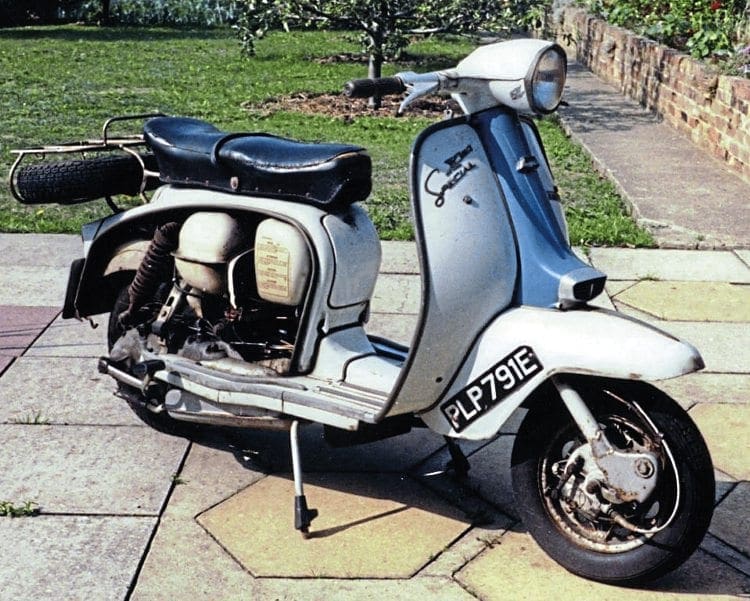
Don’t buy the first one you see or something similar because its available now, it will only result in you being unhappy at a later point. There may be a certain year of manufacture the same as your year of birth for instance. Take your time and get exactly what you had in mind. In the long run it will give you the impetus to carry out the restoration with a passion. If you don’t it’s easy to get disillusioned and in some cases abandon the project before completion.
Be careful when buying
When actually purchasing a Lambretta for restoration, care is needed to make sure everything is as it seems. The most crucial and important thing to check is that the logbook matches the frame number. If it doesn’t then simply under no circumstances make a purchase. If the frame number matches the logbook then that is fine but there are still some other important points to look for. If purchasing any one of the 200cc Lambretta models whether it’s a TV200, SX200 or GP200, great care should be taken when checking the frame stamping itself. Unfortunately because any one of these models commands a premium price they are more prone to the frame number being doctored. Though this practise was more common in the 1990s there are still examples of this procedure out there today. If this is the case it makes the Lambretta in question impossible to sell on at a later date and to a certain extent valueless.
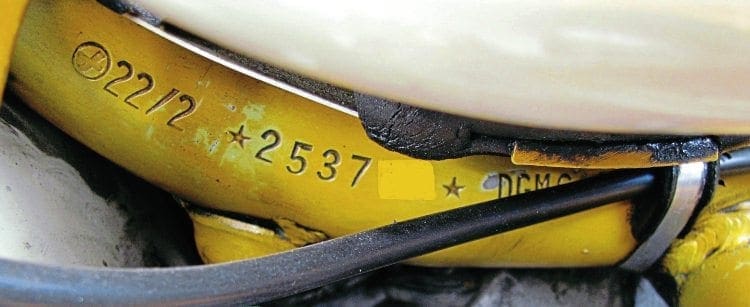
What to look for: Legitimacy
First and foremost the frame number must be checked before anything else. If the Lambretta in question is in a poor state paintwork-wise then the easiest thing to do is remove the paint around the frame number area. If doing so then remove at least 4cm either side of the frame number and the whole side of the tube where it is stamped. If a number has been welded in then the chances are you will see an area where the weld has been ground in. In some cases the tube will have a flat look to it rather than its original round shape as it is almost impossible to get it fully smooth. In the case of the TV200 it never had an IGM number stamped on the frame as it was an export only model and didn’t need type approval in Italy. Any TV200 which has an IGM number will therefore have been doctored so stay well clear.
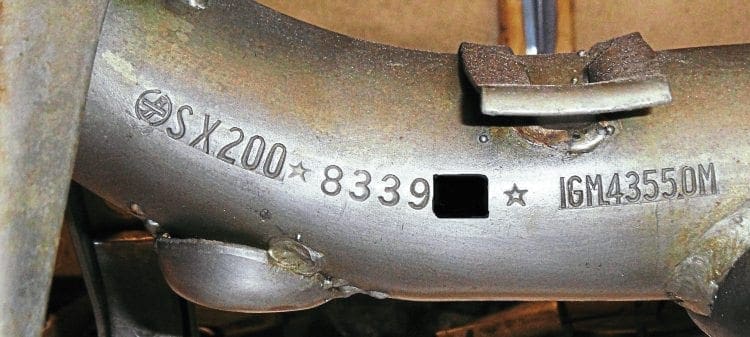
Another way of identifying that a number has possibly been welded in is to check the IGM or DGM number. Every Lambretta series three has this stamped after the frame number (except TV200) and was the approval number for that model for homologation by the Italian government. For example a GP200 frame number may have a GP150 DGM number which would suggest the donor frame was from a GP1 50. For a list of IGM and DGM numbers visit the British Lambretta Achieve website where a list is available www.britishlambrettaarchive.co.uk/ igm-dgm-info.html
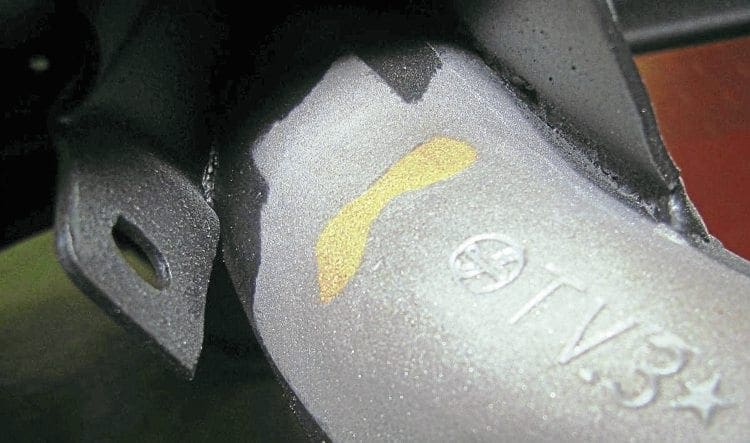
Crash damage
As the frame is the fundamental part of the Lambretta it must be checked for possible signs of crash damage. If a rear shunt has happened in the past then a way to detect it is to see if the side panels fit flush with the frame. The noticeable area is the top corner near the rear light. If an impact has taken place then usually there is a fold or slight bulge in the frame around this area causing the panels to stick out or poorly fit. This can be rectified but you must be aware there may be an alignment issue. Sometimes there may have been an impact to the frame and the fold is not so prominent so another method of checking it is to look at the rear mudguard. If the frame has been pushed in there will be a bow shape forming from the middle as the mudguard has been compressed. On the left hand side it may be possible to see where paint has rubbed off the mudguard as it can catch on the shock absorber, in some cases wearing a hole in the mudguard itself.
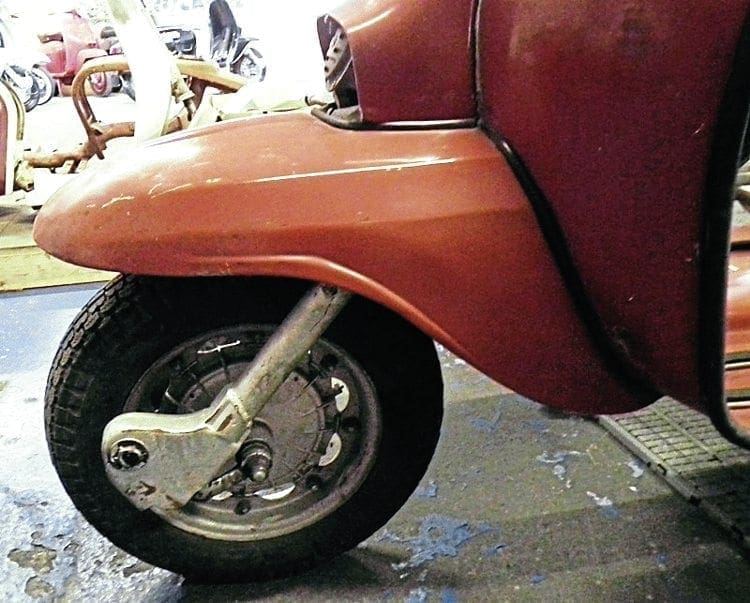
If there has been a front impact the first procedure is to look at the front forks and make sure they look straight. If you are still unsure look sideways on and look at the front wheel. This should protrude slightly past the front mudguard. If it is level or even inside the mudguard then this suggests the forks may have been pushed back. Another tell-tale sign is if the headset has been rubbing on the front of the horncasting as they are out of line with each other. If both of these problems are present the final check is on the frame tube itself. The curved area of the frame tube between the bottom of the fork stem and the front leg shield struts is liable to have a ripple or ridge in it where it has been pushed back. There is a frame measurement you can make from the top of the fork stem to the tool box lip to check if the frame has been pushed back but this can vary from frame to frame. As the Lambretta in question may be complete it is not possible to do this measurement anyway as the headset bottom must be removed first. The outlined checks are an easy way of detecting problems without doing measurements.
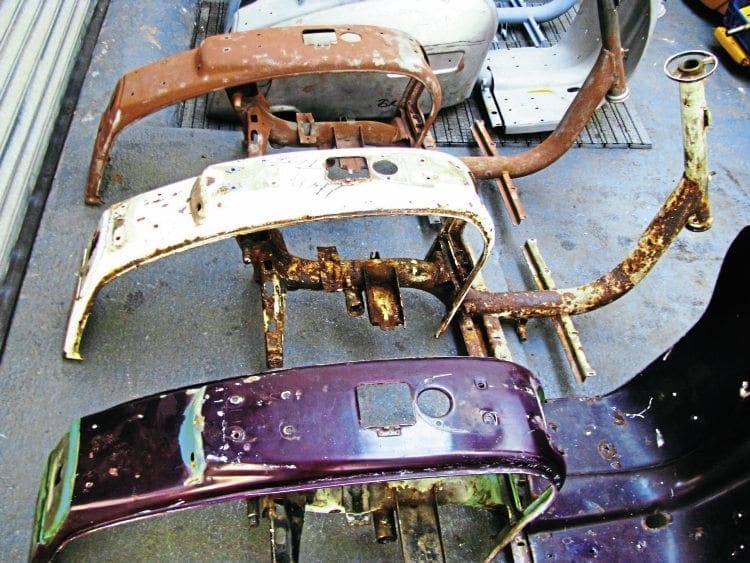
It must be noted that buying a Lambretta that may have been in a crash is not necessarily a problem. The frame can be jigged and aligned perfectly before rebuilding. Carrying out these checks makes sure that you know what you are buying and if the damage is too much to repair. Any other problems like the centrestand strut being cracked or holes drilled in the frame or bodywork are easy to repair or replace so don’t worry about them too much.
Frame condition
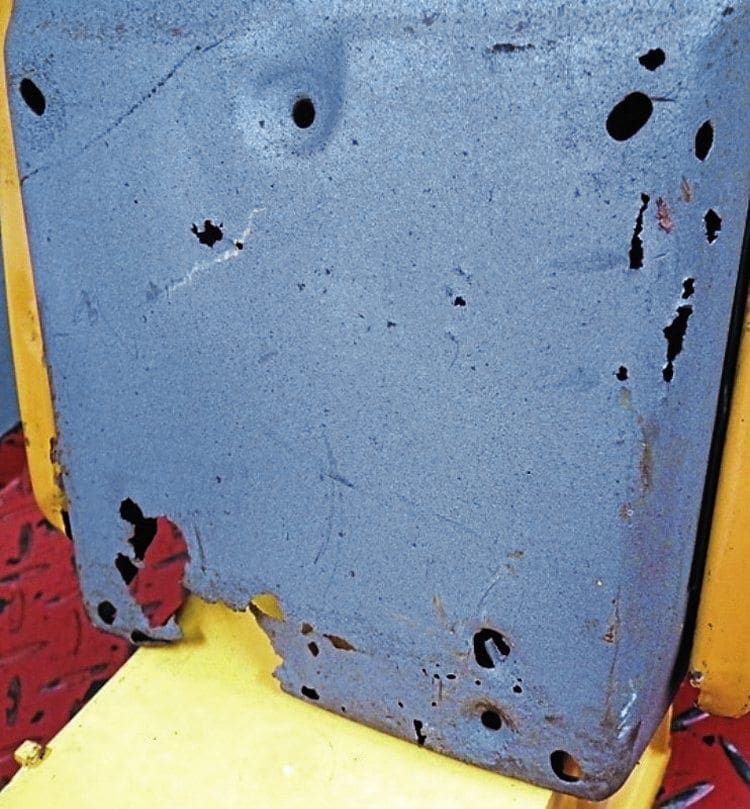
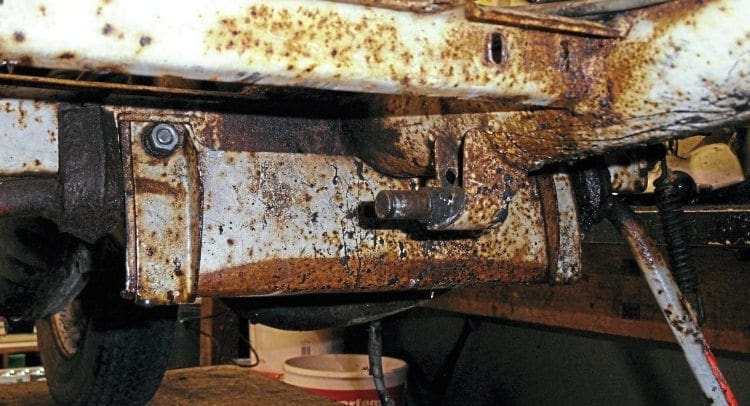
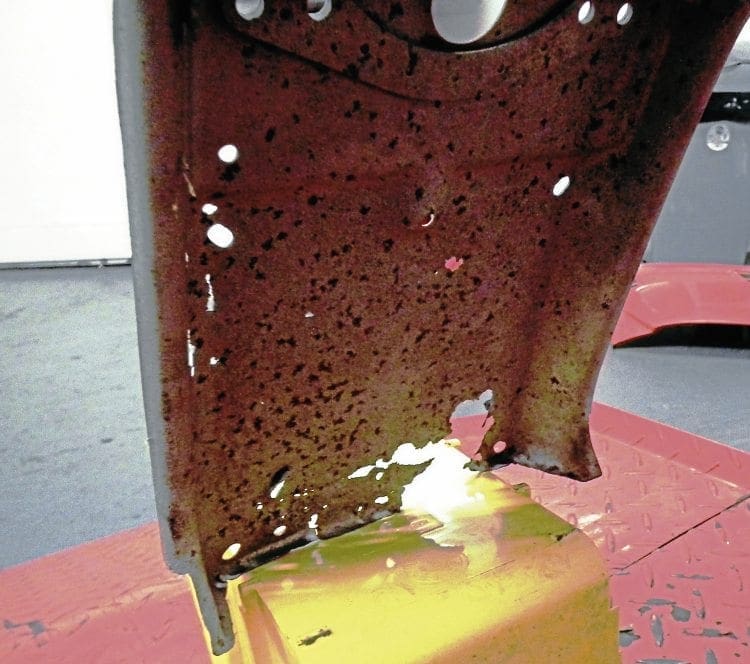
After several decades of weather no steelwork will be without some rust or rot. While it is not always easy to spot when lying underneath paintwork, look for the main areas on the frame that are most prone to water damage. At the front the main frame tube and the fork area under the mudguard. At the back the inside of the number plate area. The worse these are, the worse the rest of the frame will be, likewise the bodywork. If water damage and excessive rust are present in these areas then the bottom straight of the frame tube must be checked. If the tube is weak here due to years of rotting then the middle section of the frame tube will be weak. If so be very wary about purchasing as this is not an easily solvable problem.
Engine
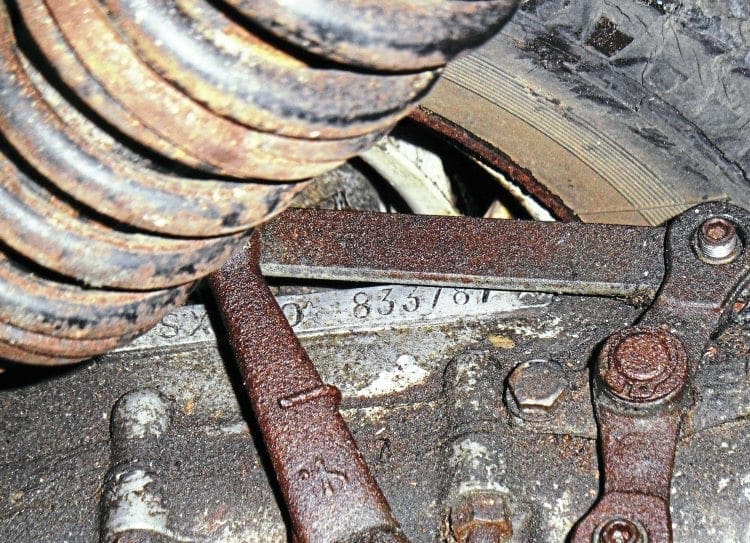
It must be presumed that the engine will be fully rebuilt so it doesn’t matter if it is running or not. The only real check you need to make is that it hasn’t had a mounting lug broken and re-welded at some point as that doesn’t look good on a restoration. This is simple to check as any weld on the mounting lug will be clear to see. There may be stripped or broken studs but not everything is visible to the eye so there will always be a certain element of chance when purchasing. Most studs or small cracks can be re-welded without too much difficulty. Also check the engine number is clean and hasn’t been re-stamped or the numbers ground off.
Complete machine or frame
If you have come across a barn find then chances are everything will be fine, certainly if it has been off the road for years. When buying a barn find collect any paperwork you can, even an old tax disc, as without any proof you will not be allowed to keep the original registration number when the restoration is finished. More than likely it will also retain the original engine casing. If it still has the original logbook then this will prove its authenticity — that the engine was the one fitted to that machine in the factory. If it has been replaced sometime in the past then that’s not a problem as the last time it was on the road, that was the engine it was fitted with.

It may be the case that you have purchased a frame and intend to build up the Lambretta around it. While this is fine you will want to get an engine with a number similar to that of frame. How the Innocenti factory matched engine and frame numbers up is uncertain but the acceptable figure is anything up to 1000 apart. Certainly production at the end of some models showed this to be true. it may take time to get a casing with an acceptable number close enough to the frame but it’s better than getting one that is several thousand apart and clearly not from the same year of manufacture. Remember — you can get on with certain parts of the restoration without the engine, so if you are still looking for one it shouldn’t delay you too much.
Taking on the challenge
There is a great sense of pride to be achieved by taking on the challenge of restoring a 50 year or so old Lambretta. Though there will be a lot of hard work and tough tasks ahead don’t be afraid to take them on. There will be some things that will require outside help like painting, welding, engine building etc. but seek out the best person for the job. Even if you haven’t done all the work yourself it doesn’t make it any less rewarding.
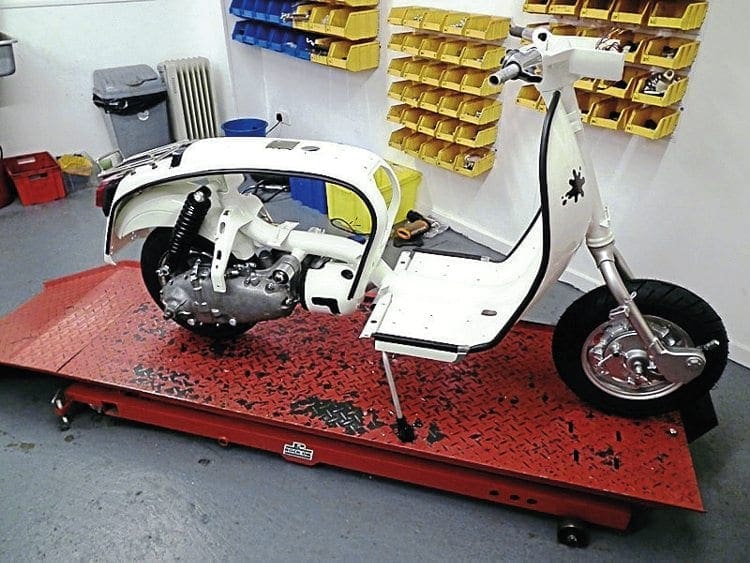
Take your time with what you are doing and plan each stage out. If you are waiting for a part or some paintwork for instance don’t get hasty and be patient. More importantly, don’t cut corners because you don’t have something available at the time. If you do cut corners you will notice it in the finished restoration and will end up replacing or doing that part again. Wherever you are doing your rebuild, make sure you have enough space to work in. There is nothing worse than knocking the body work or struggling to get to a certain part of the frame because something is in the way. Make sure you have adequate lighting so you can see what you are doing, certainly during the dark winter months when most rebuilding and restoration work takes place. These points may seem trivial now but soon become noticeable when you are in the working environment. Finally if you’re having a bad day and something is not going right with the build, walk away and come back to it another day. It’s better to leave it for a while rather than get frustrated and break or scratch something as your patience runs out.
The restorations
As part of this series we have taken two different projects to look at. Though they both achieve the same goal of a full restoration, they take different paths.
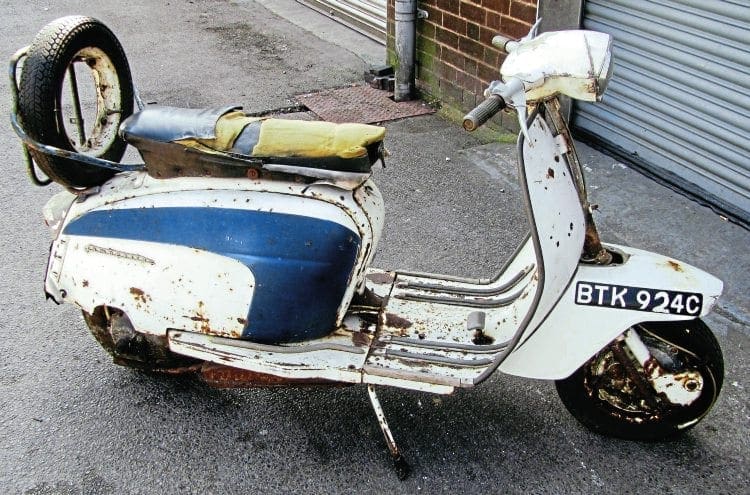
The first, a TV200, is a barn find but is in an extremely poor state. Though it retains its original frame and engine, proven on its old green card logbook, the majority of the machine will need to be scrapped. With all of the bodywork needing to be replaced, great care and attention will be required to make sure everything fits correctly. Though the Lambretta in question starts off complete it is similar in ways to restoring from a bare frame and finding the components,
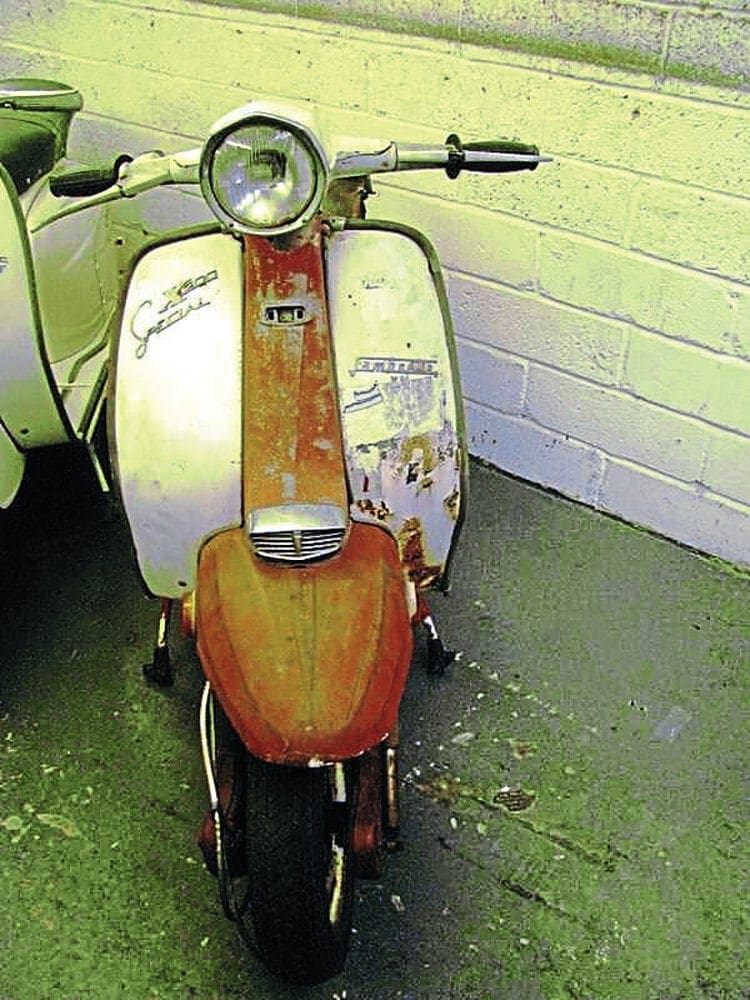
The second, an SX200, is similarly a barn find but in a much better condition. Though it doesn’t have any documents because it’s an import, from the evidence it’s clear to see this is the complete original Lambretta as it left the factory. More importantly, because of its good condition the yield is 85% of the original machine. Though this makes things easier from a sourcing point of view there is still a great deal of work to getting it restored.
Next month the stripping down process.
Words & Photography: Stu Owen

