Tuning scooters and painting scooters, we love to do them both. In this series we will explain the full process behind painting your machine and what’s involved in achieving a high quality finish.
Unless the paint job on your scooter is either a) of historic value, or b) in such good nick that it requires no change, then the chances are you will, at the very least, have been thinking about a paint job of sorts. But what do you know about the actual process? Most people who have never been involved in painting may have a romatic vision of some painter-chap happily spraying a sparkling mist of paint over their beloved machine, but without any real understanding of the full workload involved.
The thing about paint is this: you get out what you put in. A decent paint job entails hours of prep, dry builds, panel beating, base coats, top coats, flatting and polishing… and that’s before we even get to the technicalities of race paint and then airbrushing. To give a comprehensive overview of what’s involved we took a trip to Eyecandy in the North East, and Paul Hindle was kind enough to provide us with a steps 1, 2, 3 guide to what’s involved.
Paul has been painting since he was 17 years old, it’s not a whim or a flight of fancy, it’s his livelihood and always has been. Although he never got involved in painting for a desire to earn money, the payment is just a by-product of doing what he loves for a living. Paul told us: “I never wanted to just churn stuff out to get a big pay packet. I wanted everything I did to be high quality and individual, that way I could enjoy what I did for a living, and that’s the way it’s always been. Thankfully now, my reputation for a quality finish gets me jobs from AF Rayspeed, CamLam and many others. Quite often jobs will arrive in vans now and I just get stuck in.”
Paul does everything in-house, including all his own fabrication, welding and associated labour. That way he can keep a check on the quality at all levels. A valuable piece of advice he gave us was this: “If you have too many people involved in anything, it’ll always go wrong in the end. If you’ve got one person blasting, another welding, someone else painting, another airbrushing etc then things can start to fall apart, and everyone blames each the other. I do all the work myself, that way I know it’s right.”
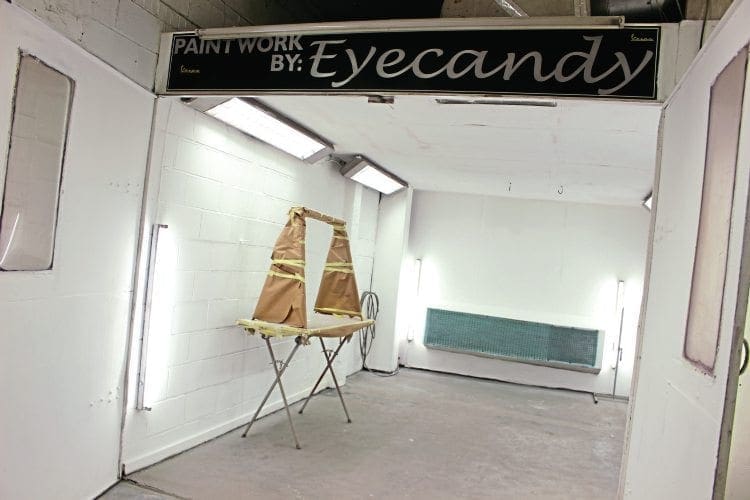
Painting to a high quality finish is an involved and labour intensive process. Paul guided us through it step-by-step.
Strip & blast:
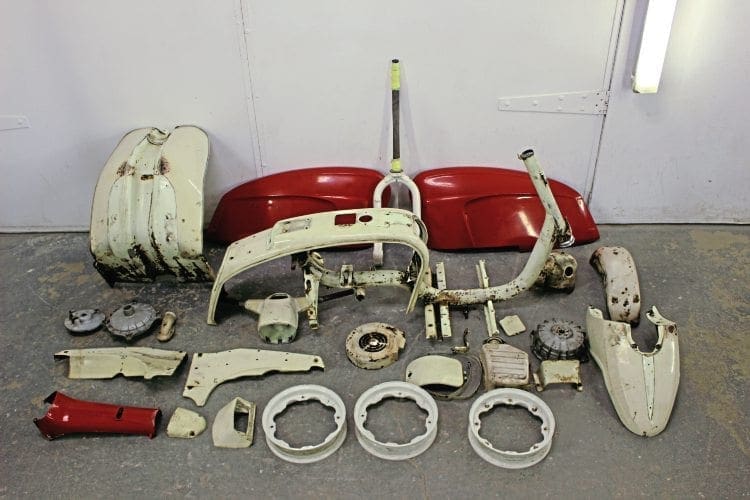
First thing on the agenda is to strip the scooter into bits, have it blasted and then assess it, that way you can see what you are dealing with. Paul’s advice is to make sure the blaster is used to doing scooter frames and bodywork, as he has often seen industrial companies take on the jobs and the scooter come back with a terrible ‘course’ finish and, in some cases, valuable frame and model numbers have been blasted right off! The blaster must use a fine media.
Assess:
Unless you have owned the scooter since new, you really have NO idea what you are dealing with until it is blasted. Scooters that outwardly look really very solid and straight can come back from the blasters, only for the owner to realise that the machine is practically see-through. The level of bodge jobs, rust and patch-ups can be frightening. When a scooter comes back blasted and it looks as solid and straight as it did when you sent it, that’s very reassuring.
Contamination:
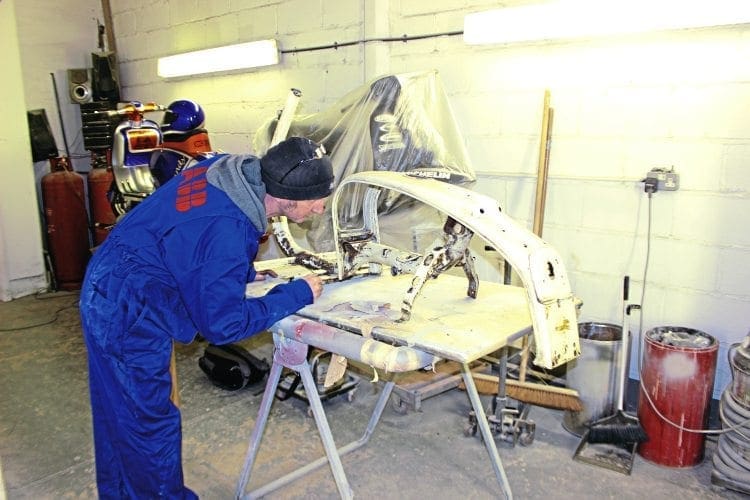
At this stage, when the scooter is back from the blasters Paul only ever handles the components when wearing gloves, to prevent contamination of the items by moisture and oils from the skin. Contamination is a painter’s worst nightmare. Most contamination is airborne, to the level that if a diesel car is standing still and running outside Paul’s workshop doors it can have a terrible effect on reactions and suchlike. This is why his workshop is of the non-mechanic variety.
Paul is very clinical when it comes to the painting process, using a clean air ventilation system and he won’t entertain any contaminants on the premises. Paul won’t allow mechanics from other businesses on the park into his premises if they come in all oiled up!
Sand & dry build:
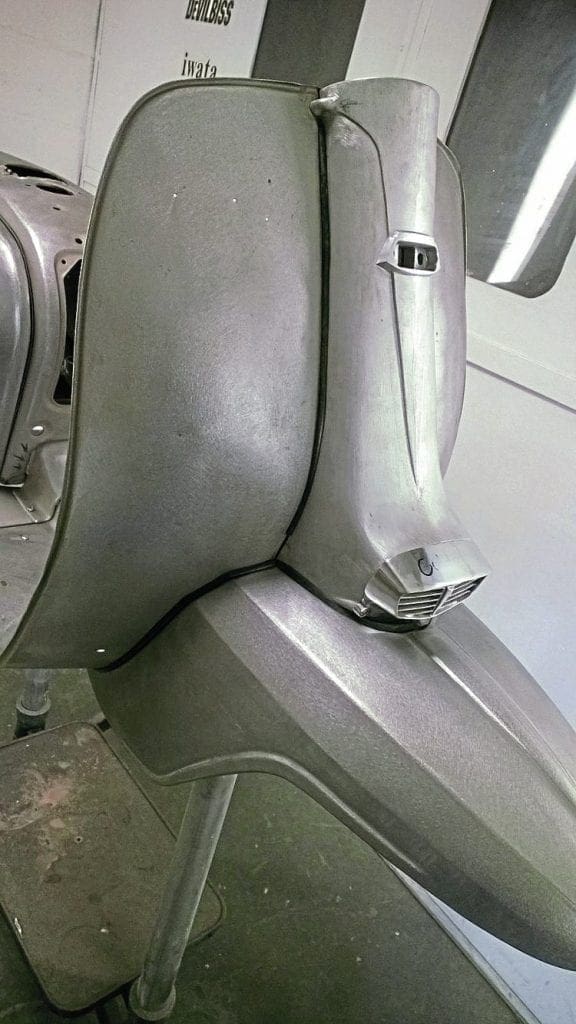
Once the components are back and inspected they are sanded using 80 grit paper and any filling, sanding and shaping is taken care of at this point. It’s all part of the dry build process that is unbelievably important — it’s no use painting a scooter and then finding nothing lines up and components don’t fit. Paul tweaks the frame legs to get the panels and footboards sitting correctly, he then checks all the panel gaps for correct alignment, welds any cracks or imperfections, fills any non-original holes, and sands the rest to a bright metal finish. Basically, the message here is to make sure the whole thing is 100% before you proceed.
Primed and loaded:
Next step is to etch-prime any alloy parts. Only use etch on these bits, as the rest of the scooter can be done in a 2k filler-primer with a generous application of three to four coats. Then apply an old-school guide coat with a simple tin of satin black and leave it to set and harden.

This next bit is very important, and too many people get it wrong — you have to leave the items to harden before you do anything, and sometimes that can take as long as three to four weeks. Paul says: “Anyone can churn a paint job out quickly, but painting something which lasts needs to be done properly. The longer you can leave it the better, as it alleviates any movement and/or shrinkage in both filler and primer, which would otherwise show in a finished product.”
Hi & lo-spots:
Once everything has hardened it’s time to take off any hi-spots or fill any lo-spots, and the simple process is that you use a P400 paper to start gently sanding down the guide coat and primer, hi-spots will take the guide coat straight off and the lo-spots will leave the guide coat in. The actual fact is that if you’ve done the rest of your prep work correctly up to this stage then there won’t be any hi or lo-spots, or if there are any, they will be absolutely minimal. So the process here is to find any imperfections and repeat the priming process until you get it right and then finish with a P600/800 paper. The better this stage is completed the better your final paint job will be when finished. It’s a slow and detailed process, which can be arduous and time consuming, but it’s worth it. You get out what you put in.
Tools of the trade:
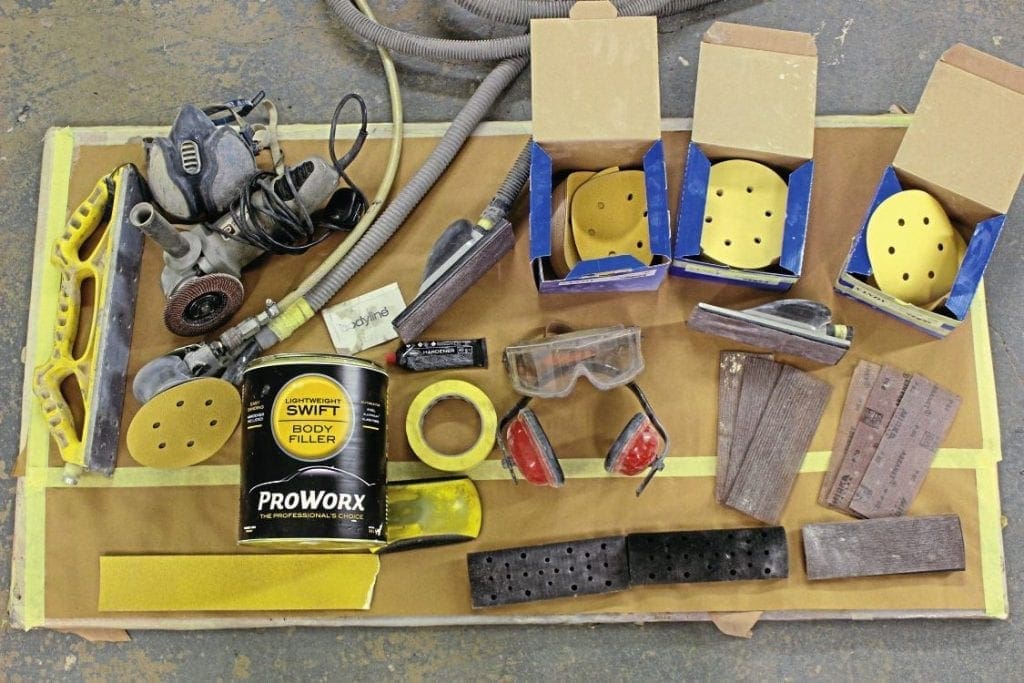
It’s not all paint guns and compressors, there is a tremendous amount of sanding, filling and fettling to be done before any paint even touches the bodywork… and then there’s MORE sanding, filling and fettling to be done. And don’t forget you will need a good extraction device to keep the dust down.
That takes us right up to the end of the prep-stage, it’s mooted by all painters as THE single most important stage of the entire process, Preparation is everything, and will dictate the quality of your final resuIts.
Once this stage is complete, then it’s time for colour! In the coming editions we will address colour coats, clear coats, candy and flake, metallic and pearl, the differences between 2k, cellulose and water-based paints, and then onto airbrushing! Stay tuned.

PAUL’S OWN SCOOTER
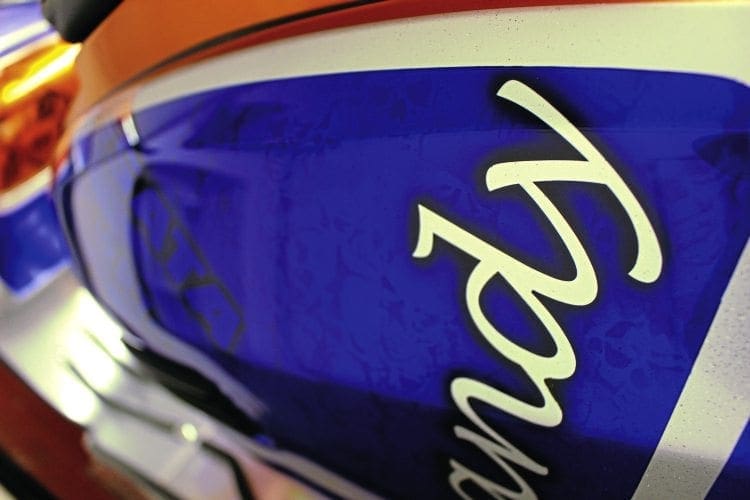
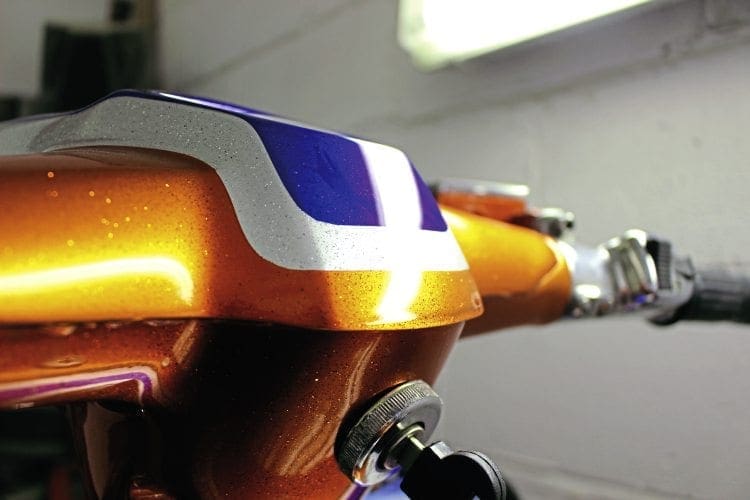
A good thing about Paul is that he is also a scooter owner, rider and rally-goer. For me, that makes a huge difference when someone is spraying your pride and joy, that they understand how the machine goes together, what works and what doesn’t. Paul’s scooter can be seen at various rallies and is a great example of his work.
Dan
This article was taken from the May 2016 edition of Scootering, back issues available here: www.classicmagazines.co.uk/issue/SCO/year/2016

