Having decided which model you are using, preparation can now commence. This consists of several stages, all of which are crucial to the end product.
Preparation is the most important part in the process of transforming what is a standard scooter into a street racer. All the decisions made now will determine what it exactly looks like when finished. There are several factors that determine the outcome and no doubt there will be some changes along the way. As long as you have all the major elements right in the first place, subtle alterations won’t affect things too much later on, should they need implementing. Draw up a plan and make lists of every component you wish to fit on the machine. Make it into some sort of checklist and tick each one off as you work out where it will go and how it will fit.
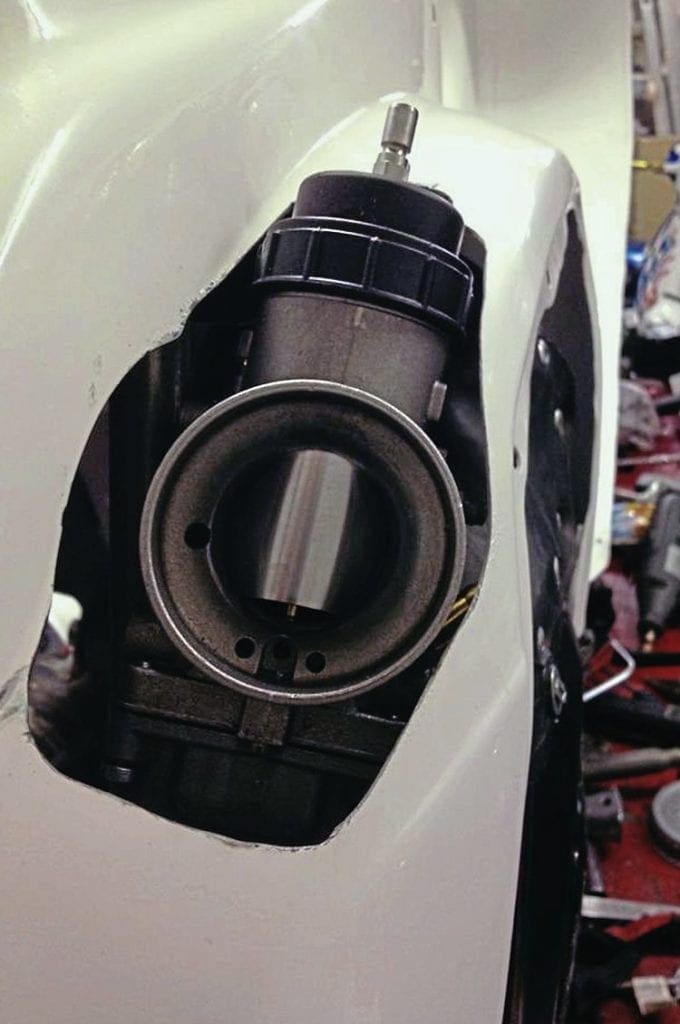
The two main things to think about are the engine and the paint scheme. Although we will cover these in more detail as the series progresses, you will need to know pretty much what they are going to be like before commencing any dry build. For instance if part of the bodywork needs cutting out to make way for an exhaust or if a hole is required for a carburettor. Then it’s much easier working out how the paint scheme will follow the lines of the modified bodywork. Carry out all the modification and fabrication then work the paint scheme around what you are left with. There can be times when you have thought all this out and then, for instance, change the inlet manifold meaning the carburettor now sits in a different position. The hole cut out may now be in the wrong position; if so it may be easier to use a separate panel and start again rather than try to modify the one you have already altered. Because the Lambretta and Vespa differ so much it is easier to go through each one separately as they both require different ways of thinking during this stage of the build.
Vespa
The two main models used when building a Vespa street racer are the PX or the small frame. The PX frame is, in reality, the T5 frame without the extended section behind the seat so both are essentially the same dimensions. In fact, some of the best results have come from using a PX frame and T5 bodywork. The small frame chassis is the same dimensions whichever derivative it is so again it doesn’t matter which model it originates from.
Both the PX and small frame chassis are pressed steel construction so will follow along the same lines when it comes to fabrication or modification. The only real difference is the PX has removable side panels whereas on the small frame they are fixed.
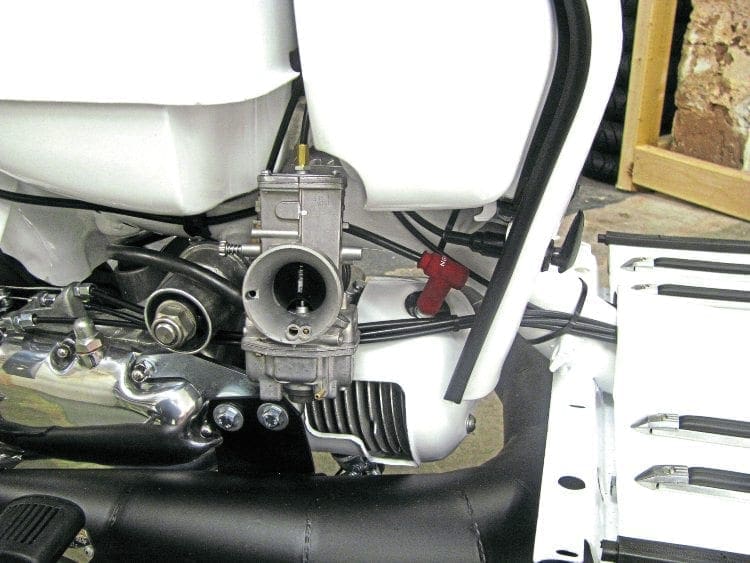
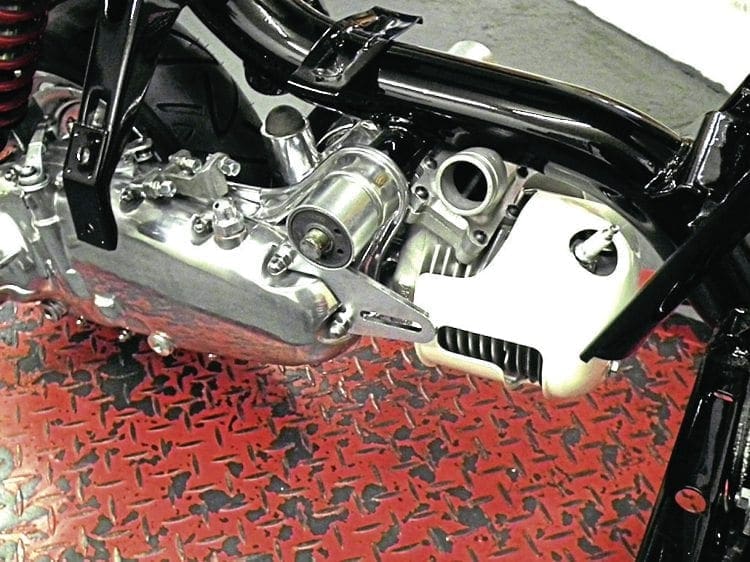
One of the biggest problem areas on the Vespa is with the fitting of the engine. There is considerably less room for manoeuvre compared to the Lambretta for instance, where there is an abundance of space to work within. The main problem is how to make enough room for the much larger carburettor and the exhaust which can run perilously close to the rear wheel. For the carburettor it quite often requires an angled manifold to make it fit within the limited space and on a small frame part of the side panel moulding cut out to get it exactly in position. There is slightly more room on a PX frame for it to sit and then it just requires a hole or vent put in the correct position on the side panel to allow it to breathe properly. To get the exact positioning correct it will help if the engine is fitted in the first place. It doesn’t need to be fully built but the cylinder and manifold will need to be in place a bit like a mock-up.
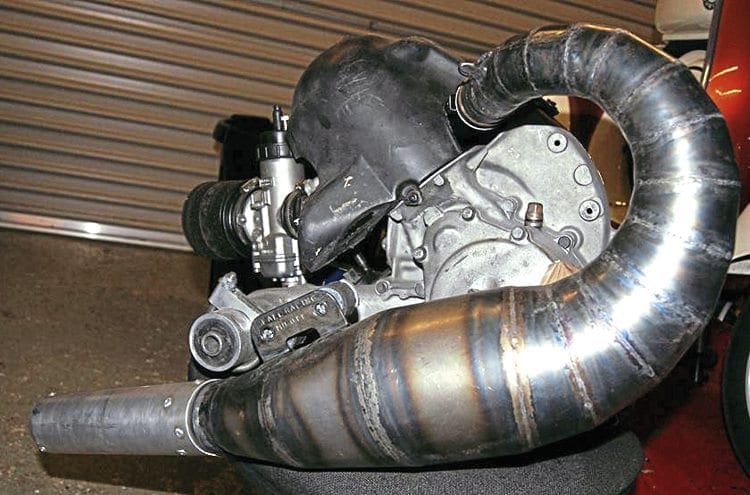
Fitting this ‘mock-up’ of the engine will then also allow you to offer up the exhaust to see if any modification is required to the frame. If the engine is considerably tuned then chances are it will have a rather big exhaust system and probably one with a big midsection. The exhaust exit from the cylinder is on the right-hand side but the main body needs to cross over on to the left-hand side. With the great advances in development that have gone on over the past few years with the small frame engine, the expansion pipes can be rather large in size. Trying to work out if it will fit without putting the engine in the frame during the fabrication stage will probably lead to all sorts of problems later on. Creating an even more extensive mock-up with the rear wheel in place will allow you to remove any part of the frame that may catch on its body. You must allow enough of a gap for vibration of the exhaust, remembering it is spring mounted and so will move slightly at certain rev ranges.
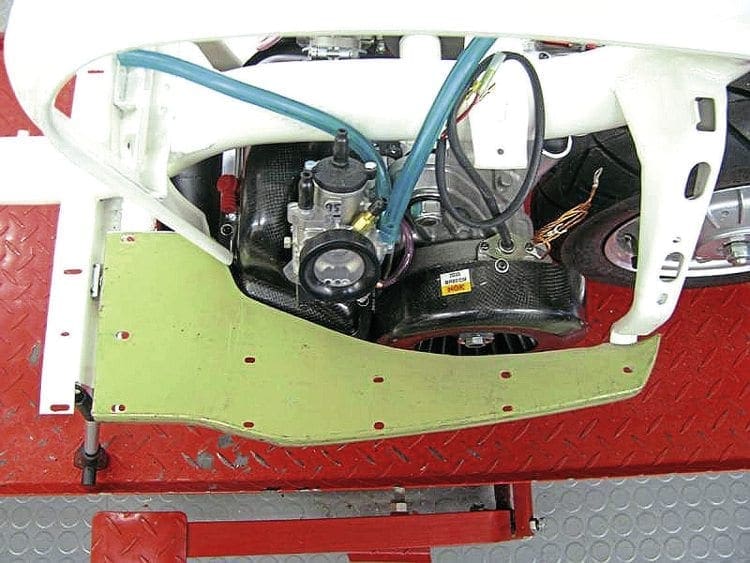
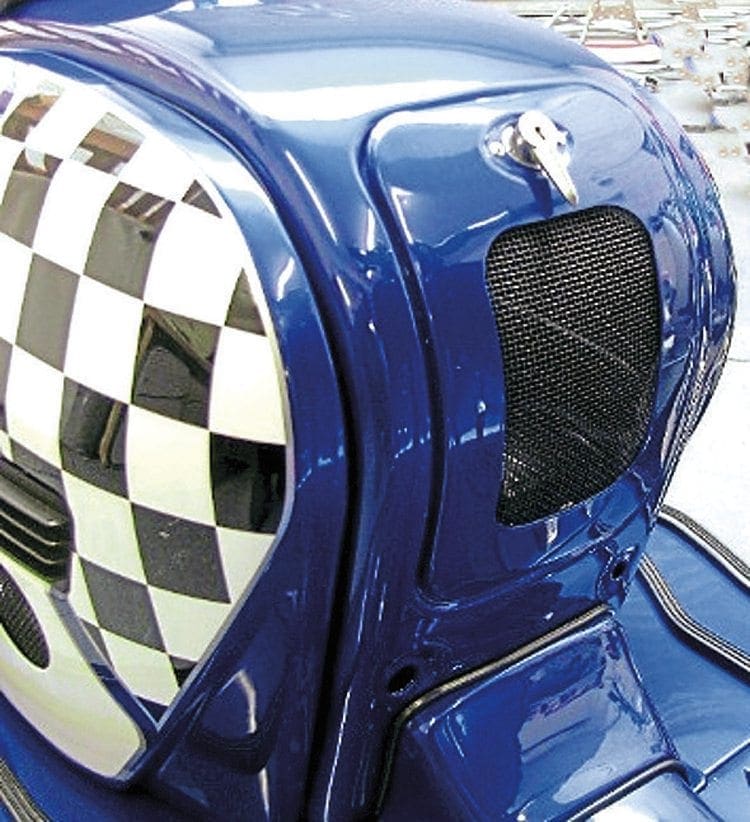
The PX engine has the same layout for the exhaust exiting on the right-hand side and crossing over. There is a lot more room for the exhaust to fit underneath but again it will help if a full mock-up is done in the first place. Back in the 1980s, PM Tuning championed the up and over exhaust system to great effect. This was done via extensive modification to the side panel using a vented area on the main section of the panel. If doing this type of fabrication remember that the exhaust will exit out of the panel where the indicator sits. You will need quite a big exit area to allow for the travel of the exhaust as it pivots with the engine while the frame remains static.
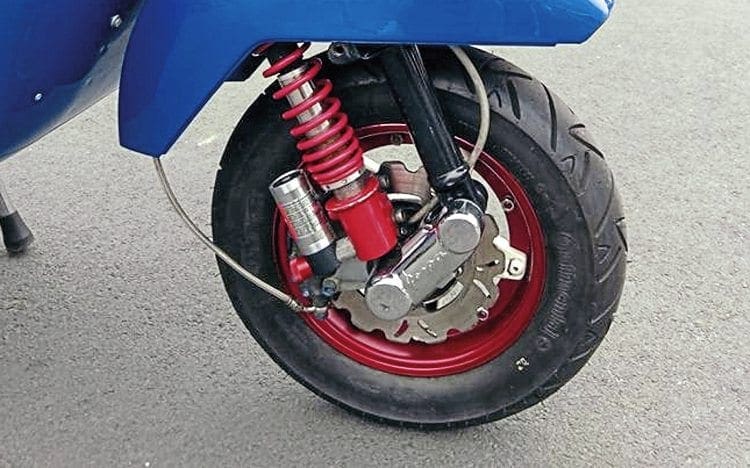
For the rest of the Vespa, frame modifications are not that great — certainly in terms of what you need to do at this stage. There is ample room for fitting a disc brake and if the front end does have modified suspension the only real thing to look out for is that nothing catches on the front mudguard. Again you can do a mock-up to make sure everything fits perfectly and alter where necessary. Drop handlebars are an option but again shouldn’t be a problem though you may want to be sure where your hydraulic cable routes. If running a rev counter or any other gauges the simple area to fit these is within or on top of the leg shield toolbox. If it’s a small frame some sort of bracket or mounting will be needed so best to put that in place at this stage.
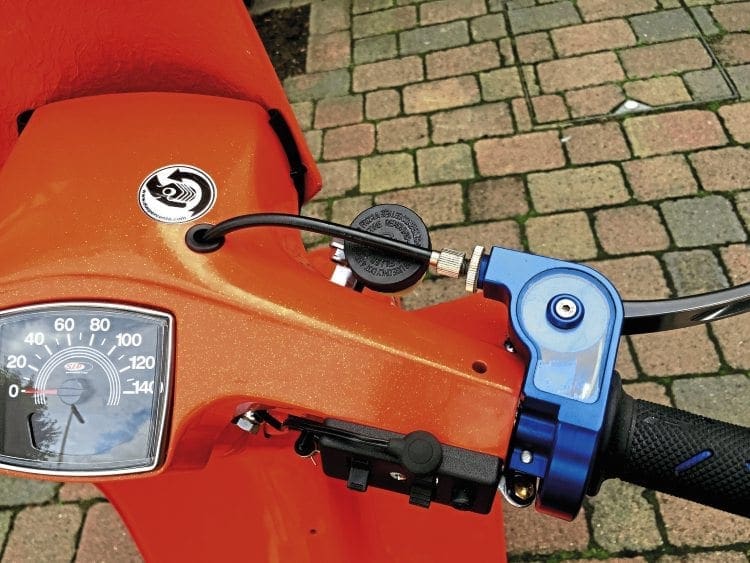
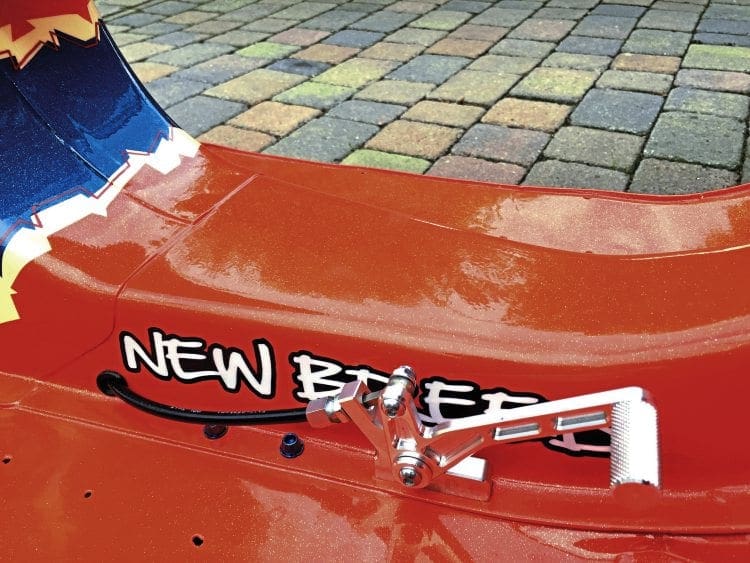
As for everything else like the rear brake pedal, seat frame or any other ideas you have do them during the fabrication. Though there is no vast dry build as the frame is one piece, it is best to fit everything you are going to use just to make sure nothing else needs altering in any way.
Lambretta
When it comes to the fabrication stage on a Lambretta then the scope of what can be done is immense. Because it has a chassis with bodywork bolted directly on to it then almost every part can be altered one way or another. Presuming you will be basing your project around the GP even though any series three follows along similar lines, that is the model we will focus around here. Again its best to start with the engine and putting a mock-up into the frame is essential in getting everything to fit around it. Make sure the shock absorber you will be using when finished is the one you fit now. All measurements will be made around that and if you change it at a later date then it may not be the same length. Even if the length is slightly different all your calculations can be thrown out of line.
First and foremost is the top end and the biggest problem is usually the inlet manifold hitting the frame. There are several ways of getting enough clearance but if the room is minimal then you can make a small indent into the frame tube. It only needs to be a few millimetres and if the steel is heated up using the correct ball peen hammer it is possible to make a nice space to clear the manifold.
This can be smoothed off during the paint preparation and made to look like an original feature to the frame. Also, fit the head cowling and make sure that doesn’t catch anywhere. This is more common if using a packing plate on the cylinder as it pushes it nearer to the frame tube. Then comes the carburettor itself which though it should fit needs to be in position so the side panel hole for it to breathe properly can be cut out. A full explanation of how to measure the hole in the side panel accurately was covered in more detail in issue 381.
Fit the exhaust system in its entirety as there will need to be some alterations to the footboards. Most notable will be on the kickstart side where the end of the footboard will need cutting out as the stinger section of the exhaust goes directly underneath it. Quite often unnoticed is the midsection of the exhaust and its mounting bracket. Because the engine mount fixing can vary slightly from frame to frame sometimes this means that the footboard rubs up against it. An area can be cut around to allow a gap to prevent this from happening.
If fitting a larger fuel tank make sure that too is included in the fabrication stage. Sometimes it can be difficult to get it into position, especially if using tank straps. It also has to fit around the carburettor and trying to do all this after painting can lead to big problems. If you are fitting a traditional toolbox then chances are it will now be in the way of the carburettor if it exits on the right-hand side of the engine. If it catches the body of the carburettor then this can cause the rubber hose to split, causing dire consequences for the engine. Cutting a recess out of the corner of the toolbox eliminates the problem and allows the carburettor to sit in its natural upright position.
Presumably, a full dry build will be taking place as that is the only way to make sure all the bodywork on a Lambretta lines up perfectly. When all of it is in place you can then check everything over to make sure anything that needs altering is done now. Things such as the handlebars and the hydraulic disc brake if one is being fitted. However, you choose to route the hose, this can be mocked up and any holes that need drilling done. If vents are being put into the toolbox or side panels or cut-outs now is the time to do them. If you are going down the water cooling route then obviously major fabrication is required and a complete build of the system with radiators, pump etc. will be required.
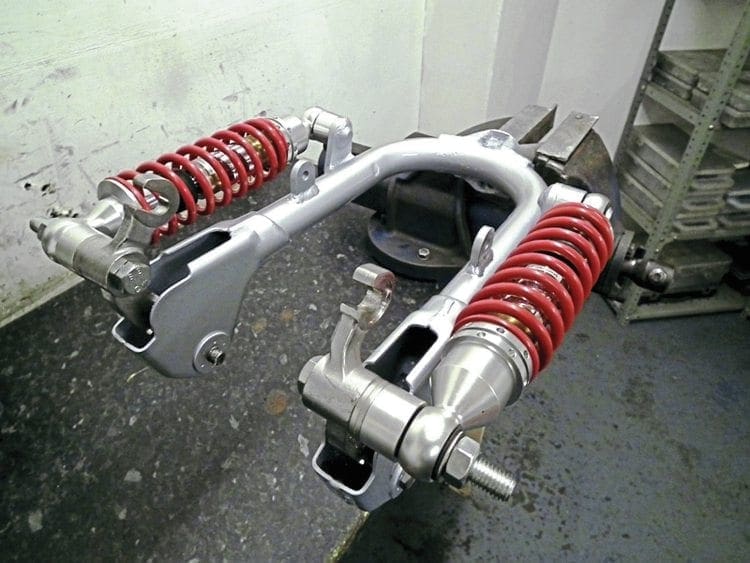
Presuming you will have a much more powerful engine then the front end set up will need to be considerably upgraded. This may require the mounting of bigger front dampers or an anti-dive system for instance. Though it will need to be done before painting, it doesn’t necessarily have to be done during the main dry build. The forks can be assembled in a vice on a bench and any brackets welded on then.
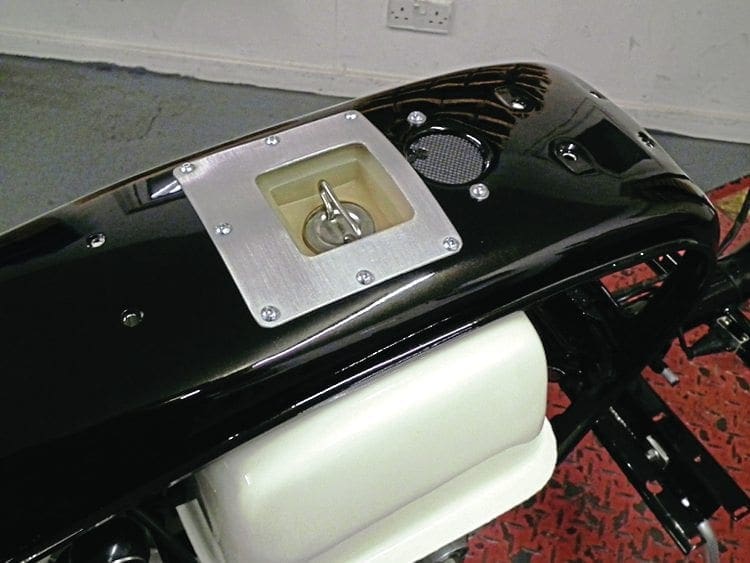
Next look at the instruments you will be using and get them in place. The Lambretta only had the most basic of speedometers and fitting of a rev counter is the least you will want to do. A temperature gauge is another useful option but this will mean fabricating brackets to mount them on.
Depending on what instruments are used some will require a 12V battery to run them. It’s pretty rare these days to find an original Lambretta battery tray fitted and if the carburettor exits on the right-hand side it will have been removed anyway. The common place to put it would be in the toolbox but if a larger fuel tank is fitted then this space will no longer exist. The only other option is to fit a leg shield toolbox and house the battery there. The benefit of doing this will allow you to mount the gauges on top and have the power supply close to hand avoiding any big additions to the wiring loom.
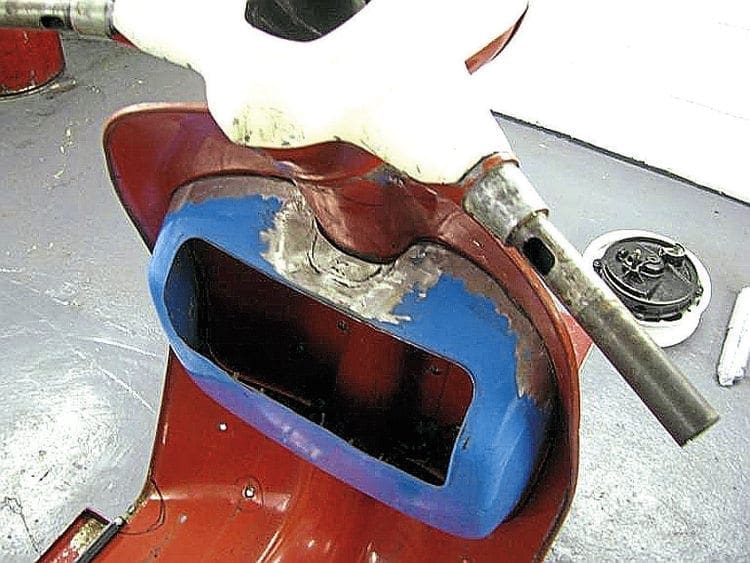
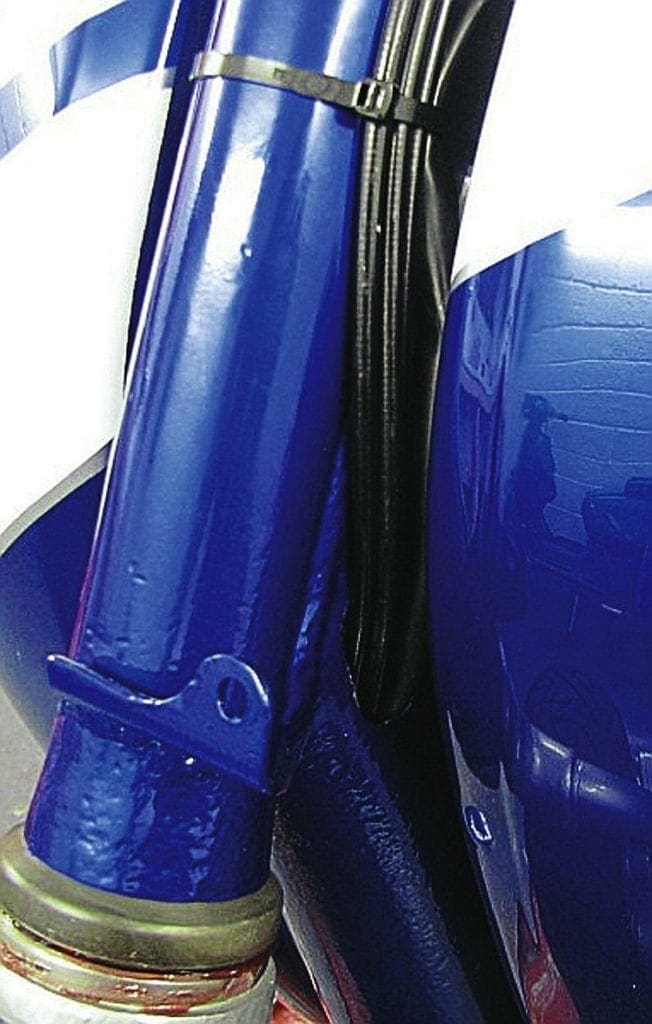
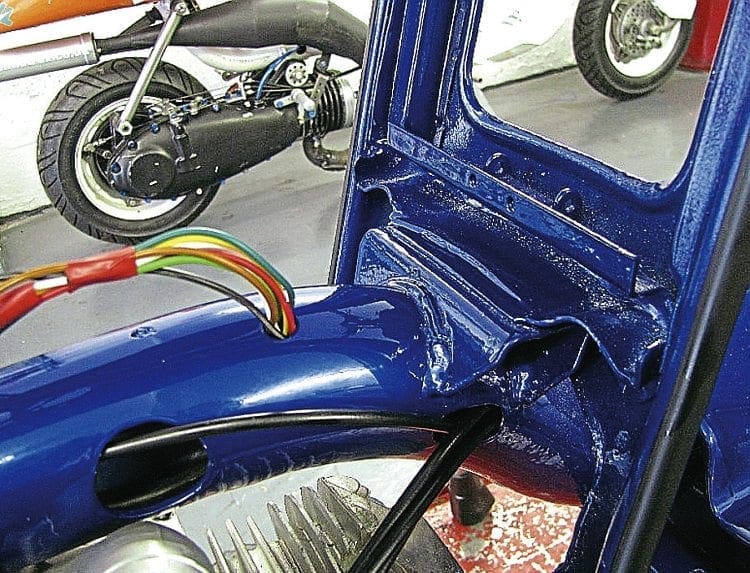
Regarding the wiring loom and the control cables, there is the option of fitting these through the frame if you so wish. The benefits are it hides them away underneath the front section of the frame, tidying things up as well as offering better protection to the outer cables. There are certain rules you need to apply when doing this modification that will help both with the routing and the smooth line required for each cable.
The best entry point into the frame is at the top of the main frame tube just where it meets the fork stem. This can be done on both sides of the tube to facilitate the cables that naturally go down each side. To get the perfect entry angle you will need to make an oval hole big enough to get all relevant cables to feed through. On the edge of the holes chamfer the sides so they do not cut into the cables outer surface.
The exit point will need to be just below where the front top shell connects to the main frame tube. The wiring loom can exit wherever it needs to depending on where you are mounting your electrical components. Feeding the wiring loom through first is the easiest followed by the outer cables second.
So many options
There are so many different detailed options of how to build a street racer that they can’t all be covered in this series. The guide on how to go about fabrication covers the essential items that can sometimes easily be forgotten. Many people have different ideas of how they want their machine to look and what the final outcome actually will be. By implementing some of the methods described here it will help you with the fabrication however radical your design is.
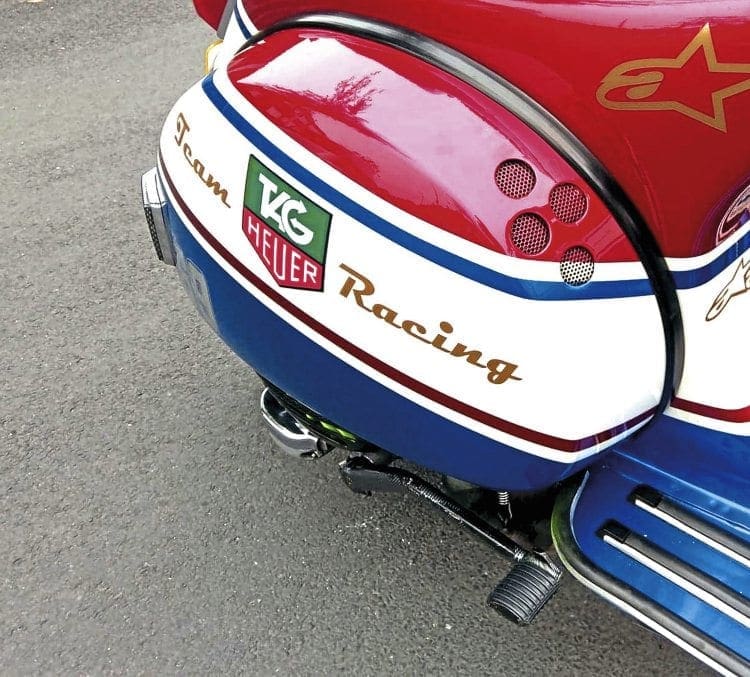
Also, remember you can take this as far as your imagination will let you. Though an idea may not seem plausible in the first place doesn’t mean it can’t actually be done. There is a great pleasure to be had in doing so and at the same time will make your street racer totally unique. So plan your design, prepare it carefully then fabricate it all. You can then move on to the next stage knowing everything is in place.
Next month: Paint scheme pitfalls and solutions.
Words: Stu Owen
Photographs: Courtesy of Martin Murray, Ashley Scott & Stu Owen

